Are you looking for new and exciting ways to express your creativity with embroidery? From embroidering socks to rope bowls to balsa wood trays, let’s add another unique way to add embroidery; on a nylon screen!
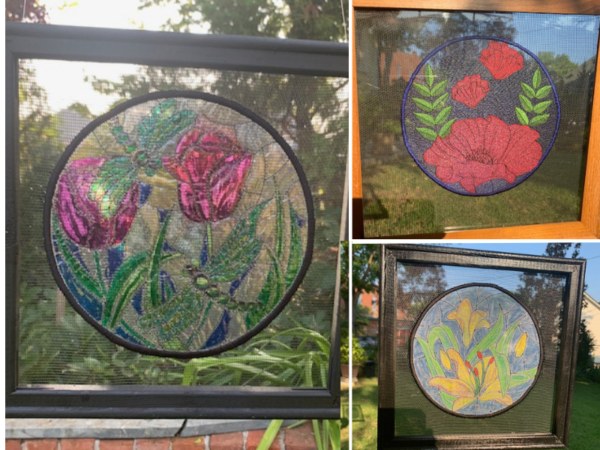
Learn about mesh screen tips, our suggestions, project ideas, and a step-by-step tutorial to creatively embellish your nylon screen.
Why Try Embroidering on Nylon Screen
Nylon screen, screen mesh, and pet screen are like tulle netting, only a bit larger and stronger. Screen doors and window screens use screen mesh.
Using nylon or mesh screens adds an unusual texture and dimension to your embroidery designs. Prepare for the “ou’s” and “ah’s” when your friends and family see it!
It provides a different way to display your machine embroidery. Put it in a frame, on your back door, or your hats and bags. It’s time to get creative!
Nylon and mesh screens are known for their durability and are very wear and tear-resistant. Your embroidery will be sure to last.
Recommendations For Embroidering On Mesh Screen
Types Of Screens To Use & Not Use
We have only one big don’t.
NEVER ever use metal screen wire… it will ruin your machine!
There are several kinds of screen mesh available in hardware stores.
All of the projects shown below use nylon mesh. It is available right next to the metal meshes in the hardware store but is soft and pliable. (Be sure to ask someone if you need help distinguishing between the two so you purchase the right screen.)
Thread For Embroidering Mesh Screen
Use any embroidery thread except metallic ones, as they won’t show and can damage the nylon screen.
Learn more about machine embroidery threads and when to use them.
Nylon Screen Embroidery Stabilizer
We suggest using a water-soluble (wash away) stabilizer for screen mesh embroidery. We used a double layer of cloth-like stabilizer to give a good surface while stitching.
Get your complete guide to machine embroidery stabilizer to achieve the best results possible with your embroidery.
Embroidering on Mesh Screen Tutorial
Supplies Needed For Embroidering On Screen
- Nylon screen mesh (available at your local hardware store)
- Embroidery thread (we used polyester)
- Fabric-like water soluble stabilizer
- Your embroidery design loaded into your machine
Embroidery On Screen Mesh Tutorial
- Select your design. Keep in mind the density and level of complexity, as we talked about above.
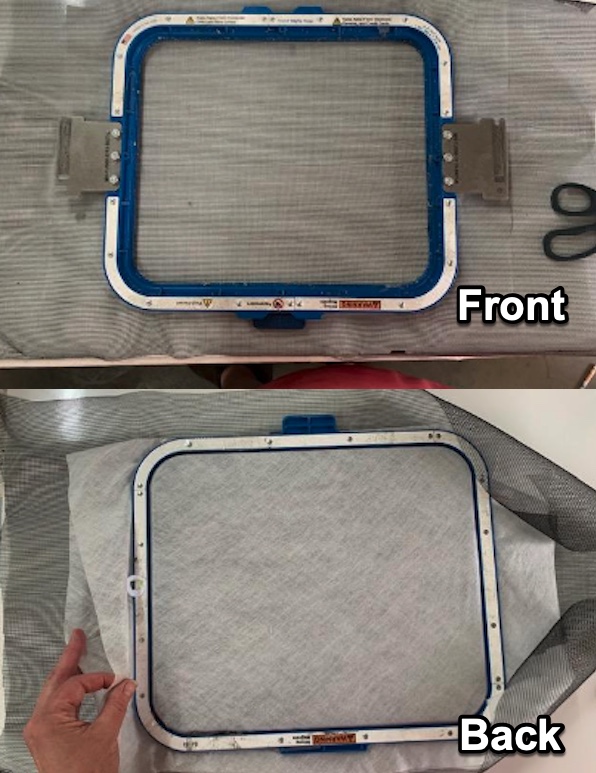
- Hoop your screen mesh and stabilizer.
- Lay your hoop bottom on a flat surface.
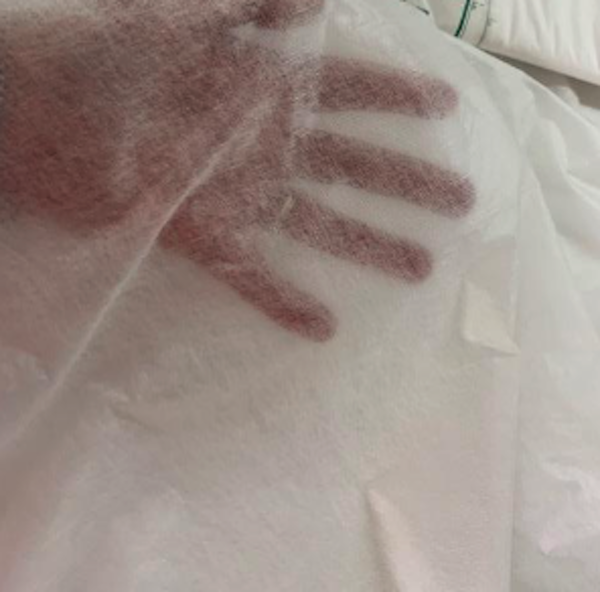
- Lay the stabilizer over your hoop (remember, we used two layers).
-
- Lay the screen mesh on top of your stabilizer and hoop.
-
- Insert your hoop into your machine.
- Stitch your design- remember to stitch at a lower speed– this is important to have the best quality stitching.
Learn more about how embroidery machine speed can affect your stitch-out results.
- Trim the stabilizer and save extra pieces for other projects.
- Rinse out the rest of the stabilizer using hot water in a continuous spray from your tap.
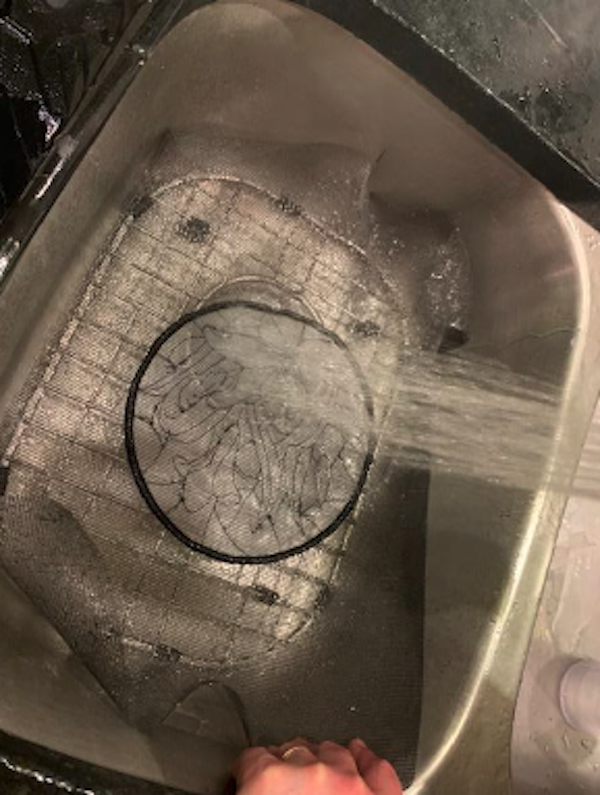
- Lay it out flat until dry.
Do not iron, as you can melt the screen mesh!
- When dry, check for small bits of stabilizer. You can remove any leftover pieces with a wet cotton swab.
- Mount in a frame for display. We used pre-made stretchers for painters and sprayed them black for show. Any wooden frame will do as long as you can staple in the back. (Keep reading for further direction.)
Embroidery Designs For Mesh Screen
Let’s discuss a few things to consider when choosing an embroidery design for your screen.
Choose from over 30,000 stitch-friendly embroidery designs to perfectly accentuate your next screen project.
Before picking your design, consider where you will display your stitching.
Dense designs look good on screen, but they look even better with light shining on them from the front. (Dense designs could look like a dark form if you are looking at it with only bright light shining behind it.)
Here is an example of how a design on a mesh screen looks with a light on the front and back.
Check out our Lemon Drop collection to add a fun pop of color and elevate your kitchen’s aesthetic appeal.
Light designs are good, but colors won’t appear in a window if they’re too light.
It is best to choose non-dense simpler designs. Remember that the nylon screen is a grid. There are vertical and horizontal threads, but far apart, so there is not as much to hold the design.
You will want to choose designs with cleaner edges to lessen the dreaded pulling.
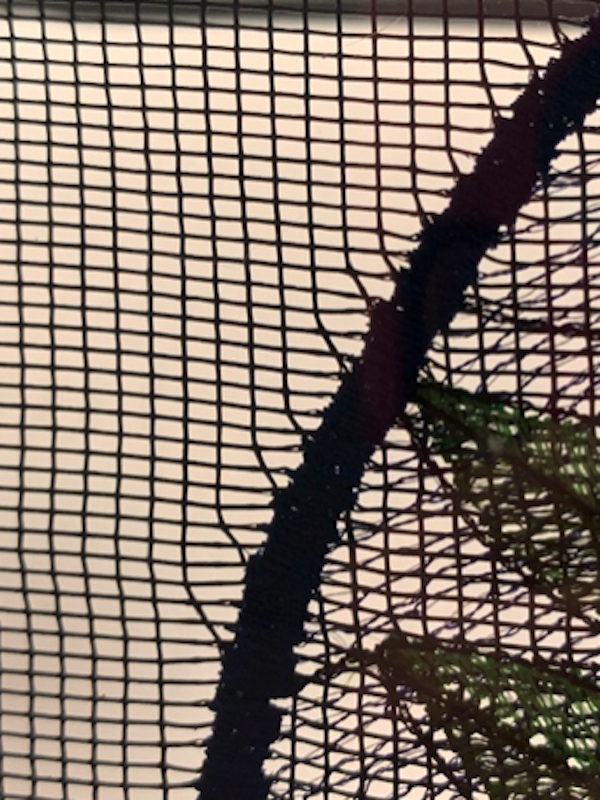
Here is a way of looking at it; any design will cause pulling, but try to get as little as possible. The simpler the design, the less pulling. Here are two examples of a simple and complicated design:
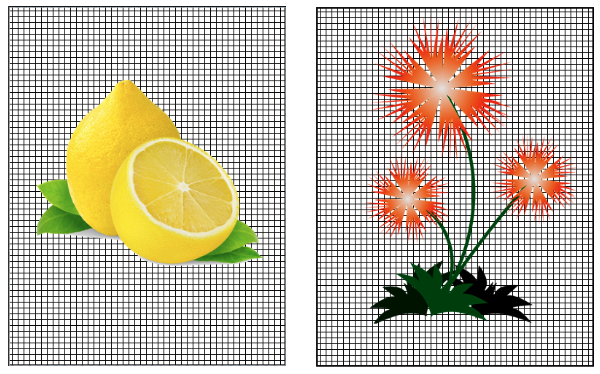
It does not mean you cannot try- you’ll only know if you do!
Some key points to remember when using embroidery on mesh:
- Choose lighter, smaller designs
- Think about where you will display your stitch out
- Lighter colors show better
- Use lighter (or white) bobbins
Different Ways to Embellish Your Embroidery Designs for Mesh Screen
Here are a few fun and unique variations to achieve different looks on the nylon screen tutorial we showed above.
Digitizing Fills For Screen Mesh
Create your own custom embroidery designs exactly how you want within your embroidery software.
Here is an example of using a fill in our “sun catchers” designs.
You can fill them with a tatami fill. For a lighter effect, remove the underlay.
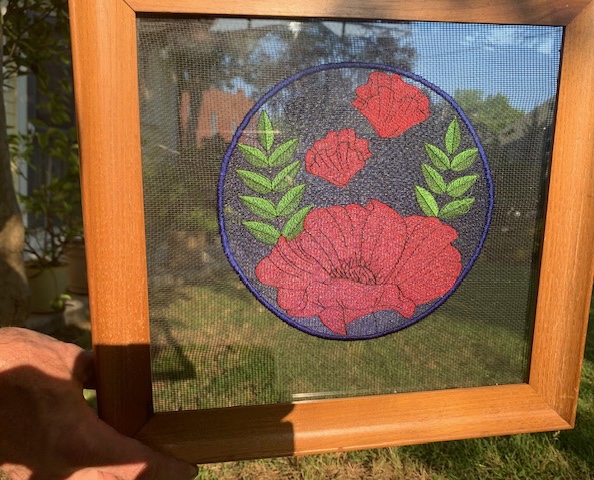
We imported Sun Catcher 1 embroidery design into our Hatch software. We then used a Florentine curved fill and applied an effect filling from dense to light. Think of coloring “inside the lines” in a coloring book.
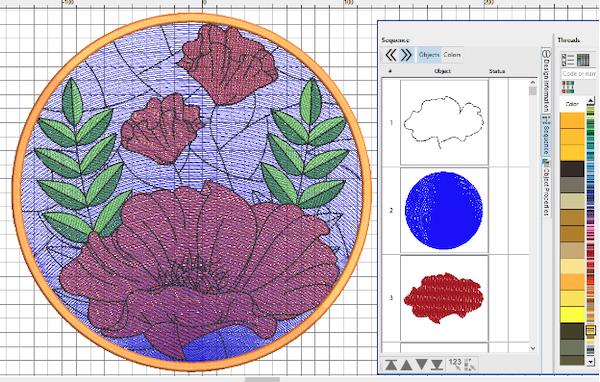
Need digitizing software? Try a free 30-day trial of Hatch software, where you use it like you own it to create professional results.
Screen Mesh Embroidery with Plastic & Coloring
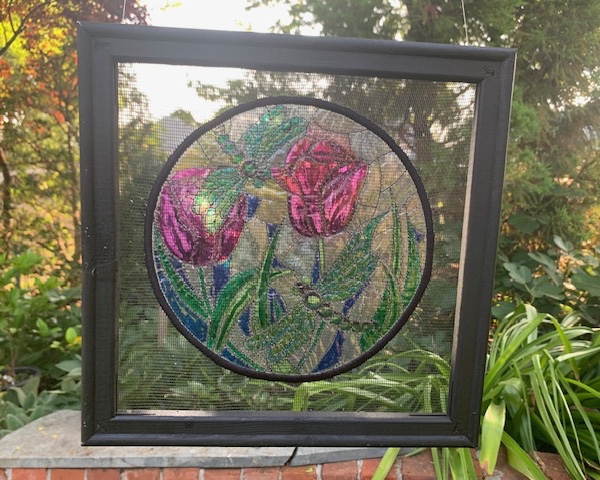
Check out this fun stain glass sun catcher 7 embroidery design.
Use clear plastic, like in tablecloths or shower curtains, to make a stained glass effect with permanent markers or gel paints.
We stitched it in black to achieve this effect, but you may choose any color. A design like this allows us to fill in colors as we desire! These are awesome for kids of all ages and excellent for Christmas ornaments!
Be sure to use patterns that are designed to be filled. You can also use applique designs (without applying the applique).
For this easy stained glass effect, you will treat this like an applique embroidery design (stitch, trim, then finish stitching).
Here are the steps:
- Hoop 2 pieces of fabric like water soluble stabilizer with a layer of screen mesh over it.
- Cover the hoop with a thick, transparent plastic sheet, such as a tablecloth or shower curtain. Place the hoop in the machine.
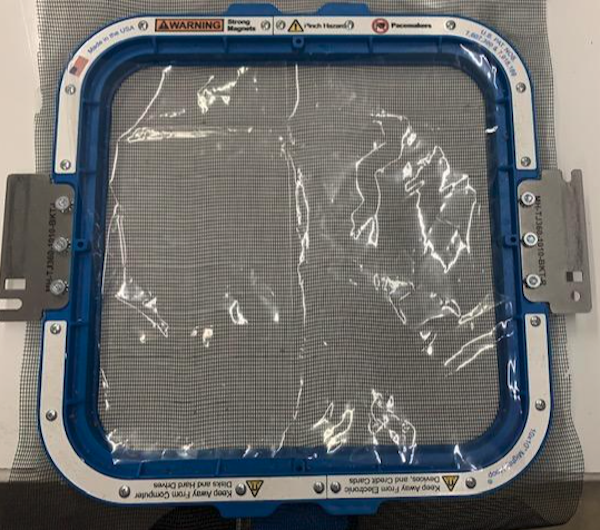
- Stitch the first circle of the design (the tack down).
- Remove your hoop from the machine and trim only the plastic.
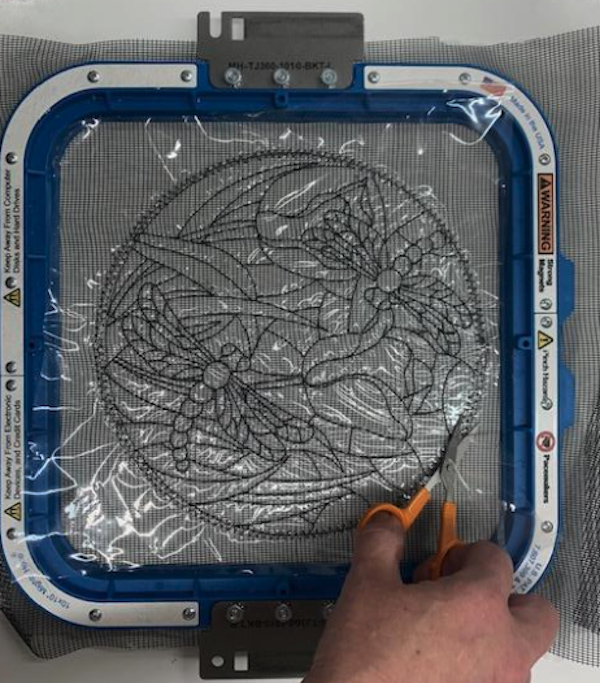
- Finish stitching and remove from the hoop.
- Trim the stabilizer, set it aside for other projects, and then rinse the remaining stabilizer away from the stitching.
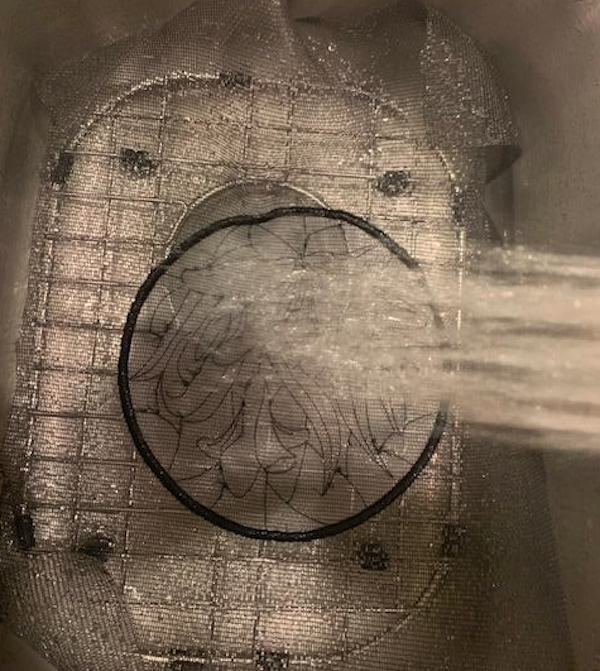
- When dry, fill spaces with a permanent marker, nail polish, or clear paint to create a beautiful stained glass effect. Make sure when you are coloring it; you work on the plastic side.
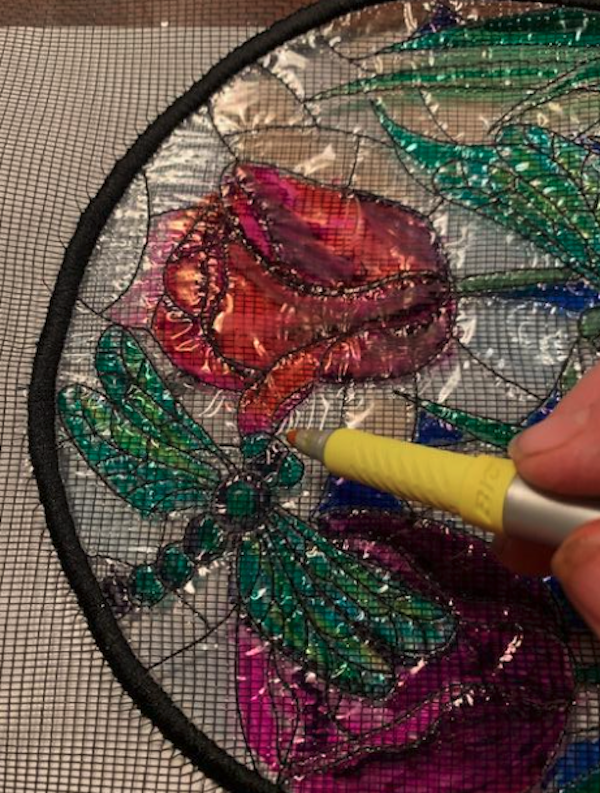
- Mount in an empty picture frame and enjoy!
With thinner plastic, you will see a rippled effect; this will not affect how your stained glass looks. It can give your project a lot of character.
Nylon Screen Embroidery with Ink Crayon
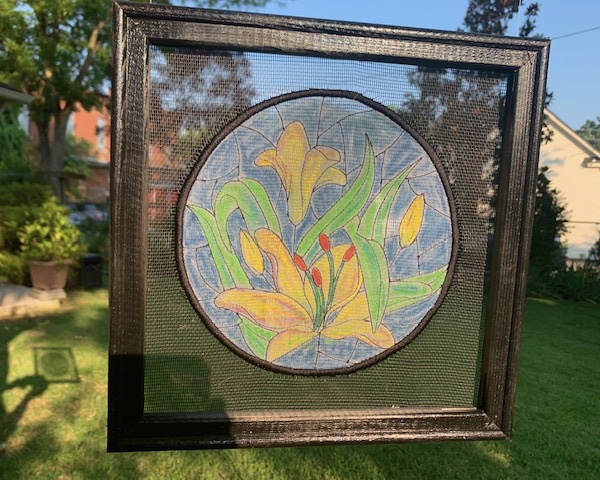
Check out this lovely stain glass sun catcher 2 embroidery design.
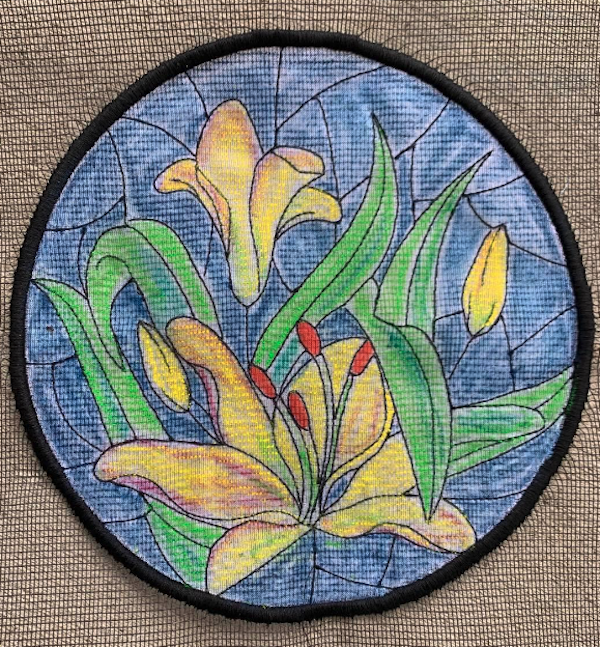
Another method when embroidering nylon mesh is to use an old polyester sheer as your base applique material. Color it with permanent markers or use Ink Crayons, activated with water.
The steps are the same as the plastic version above. However, in this version, you will use an old drapery sheer made of polyester organza. You can also use silk organza or any fabric!
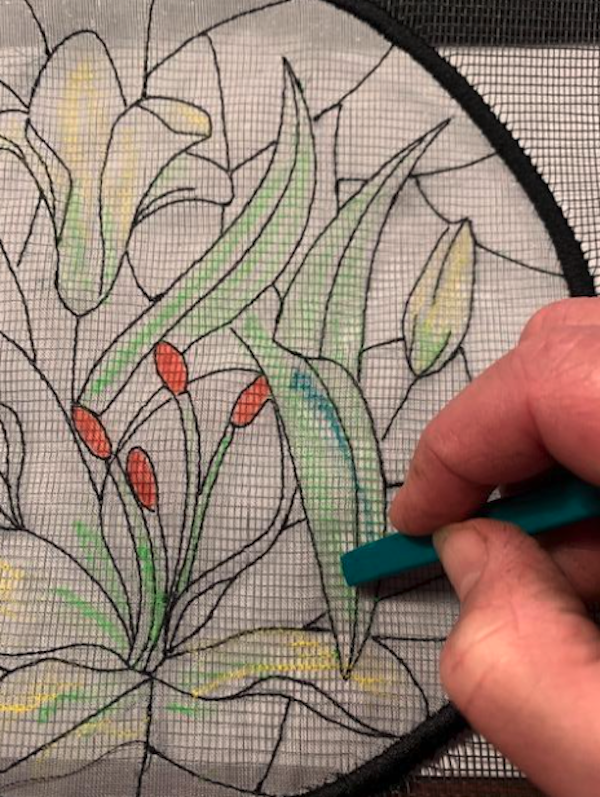
After coloring, lay it flat and mist it lightly with plain water from a fine sprayer. Be careful not to over-wet it.
How To Frame Embroidery On Nylon Screen
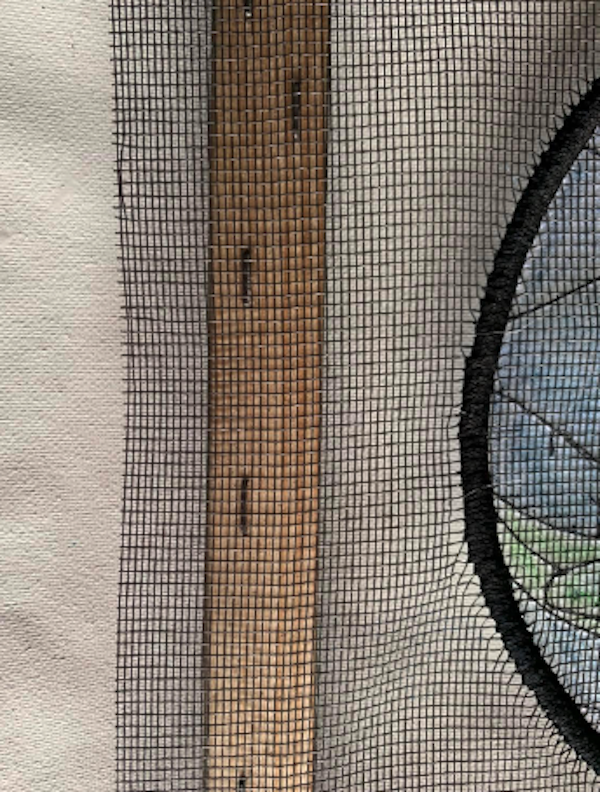
Use a wooden frame to staple the screen in place, but any frame will do.
Staple the four corners in place, stretch your screen slightly, and align the mesh’s grid lines with the frame’s side. Then work on opposing sides until you have it secured.
Conclusion: Put Embroidering On Screen Mesh On Your Embroidery To-Do List
Screen mesh is so much fun! Get this textile for your collection! It can be put in a frame, tote, or ornament. Here are some things to remember:
- NEVER use metal screen “wire” in an embroidery machine. It will damage your machine, and you’ll be out of commission.
- Use two layers of stabilizer when you are embroidering on a mesh screen. It will give you better stitch-out results.
- Make sure your designs are simple and light. Dense designs are not see-through and can look like a dark “blob” hanging in a window. Likewise- avoid designs with fine details or wispy lines.
- Be creative and think outside the box! Mesh projects are not just for windows; you can make jewelry, bags, ornaments, and more. Try out the different techniques we discussed above.
P.S. Check out our high-quality embroidery designs to perfectly embellish your next mesh screen embroidery project!


Love this, plan to try it right away. Thank you for sharing such a neat idea.
We can’t wait to see what you create 🙂 !