I’ve got to be honest; when I first heard of embroidering on toilet paper, I thought it was a crappy idea (yes, pun intended). It seemed like home embroiderers were grabbing random household items and stitching on them. I mean, what’s next? The carpet?
After realizing its potential, we decided to join in on the fun of embroidering toilet paper. So why would you want to embroider on toilet paper?

The method we use to embroider on TP may differ from other ways you’ve seen, but we’ve found this less likely to break! Don’t forget to scroll to the bottom for a free embroidery design for toilet paper to try this method yourself!
Why Put Embroidery on Toilet Paper
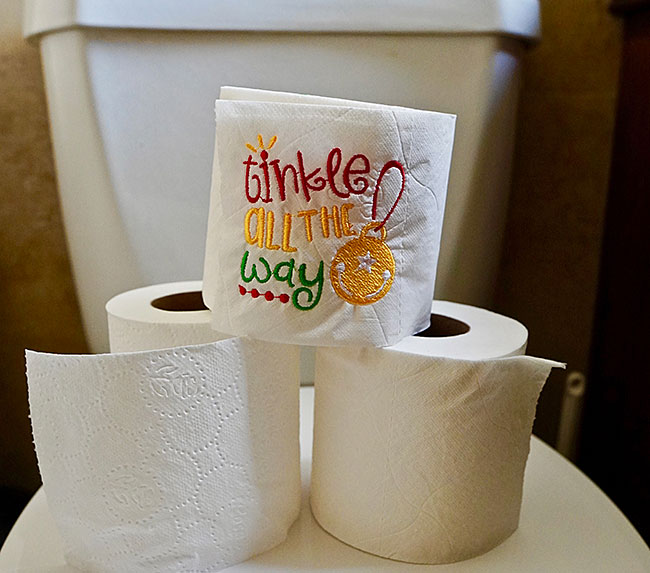
Embroidering on TP is a great way to add a personal embroidered touch to your bathroom. Whether you’re decorating for the holidays or just giving your guests something to chuckle about while going about their business, it is just plain old embroidery fun.
Embroidered toilet paper can also make an excellent gift for someone hard to buy for, especially if it’s personalized. Who can say they have a personal roll of toilet paper? You can create a personalized roll for any occasion, from a new house owner to a birthday bash; you will never be without a gift!
Did we mention it’s super easy and quick to embroider, too?
Supplies Required for Embroidering Toilet Paper
-
- Toilet paper (of course)
- No show mesh embroidery stabilizer
- Embroidery hoop
- Exacto knife
- Binder clips
- Felt pads
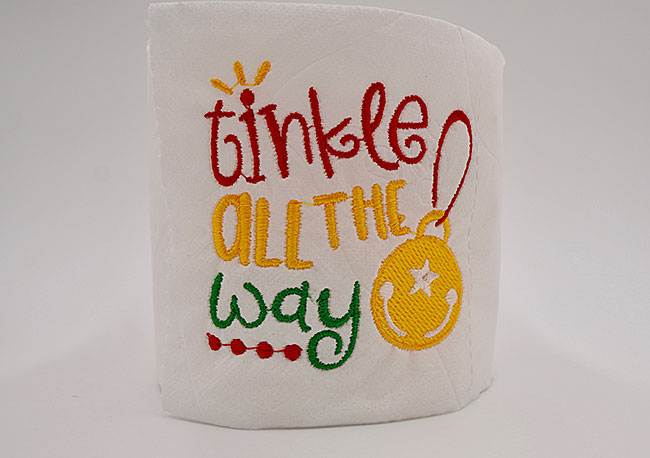
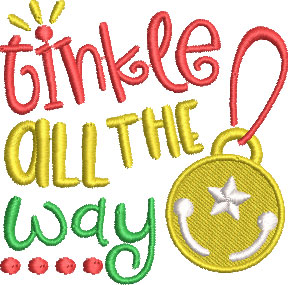
- Embroidery designs –Tinkle All The Way was used for this project
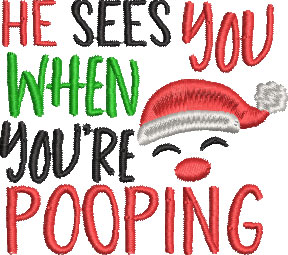
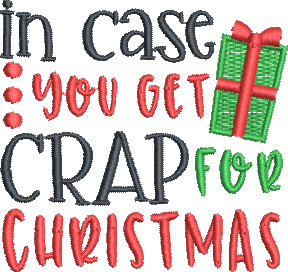
If you want to give your embroidered toilet paper a different look, browse through our collection of machine-friendly toilet paper embroidery designs.
Tip: Use a higher ply of toilet paper to embroider on. Not only does it feel better to use, but it is also stronger, decreasing the likelihood that it will break while embroidering. Both ways, it’s less of a pain in your rear end (OK, seriously, I’ll stop with these jokes now).
With the items above, you’ll want to add a felt pad to one side of your binder clips (you’ll need 4). This allows the toilet paper to slide on the machine’s surface rather than catch it.
")
Embroidering On Toilet Paper Tutorial
Step 1: Hoop your no-show stabilizer and run the placement stitch.
- Once your stabilizer is hooped, place your hoop on the machine and embroider the design placement stitches.
If you’re unfamiliar with embroidery hooping, check out our hooping tips and tricks.
Step 2: Cut slits around the placement stitch to insert clips.
- Use your exacto knife to cut four small slits around the placement stitches, as shown below. This allows the clips to be inserted.

- Line the toilet paper to the placement guide stitches.
- Carefully take the clips you created and slide the felt piece underneath the slit, leaving the top binder clamp on top.
- You’ll do this four times, once for each of four of the slits you cut to hold your piece securely in place.

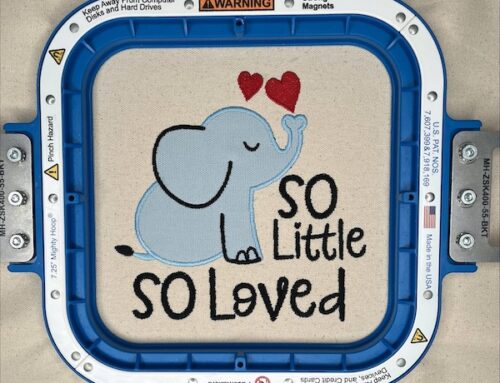
Step 3: Embroider your design.
- Be super careful not to tear your project when placing your hoop back on the machine.
Step 4: Remove the stabilizer and roll up your toilet paper.
- Take the hoop off your machine and carefully remove the clips.
- Remove the stabilizer from your hoop (we can’t stress enough to be careful!)
- Once you remove the hoop, take a pair of scissors and cut away the excess no-show mesh stabilizer from the back of your design.

- Roll up the toilet paper and carefully clean up any loose stitches that might be showing by cutting them away with scissors.
- Thats it. Congratulations, you’ve just embroidered on toilet paper!

Toilet Paper Embroidery Designs -Be Careful!
Please keep in mind that not all embroidery designs were created (or digitized) to be embroidered on toilet paper!
Designs that are too dense or have too high of a stitch count will create too many needle penetrations and likely cause the toilet paper to tear.
Tip for Digitizers: When digitizing designs for toilet paper, use leather stitch settings for low density.
If your embroidery software allows you to modify design properties for various fabrics, choose Leather or Suede. This will help decrease the density of your design before embroidering it on toilet paper.
Interested in creating your own embroidery designs? Our free Digitizing 101 Course will quickly teach you the basic digitizing theory that every embroiderer needs to know to truly understand what’s happening under your needle! With a video and PDF cheat sheet, this is the perfect way to level up your embroidery.
Or, if you’re interested in easily creating your own custom designs without digitizing, check out our Design Doodler Software. This software is user-friendly and can create anything you doodle into stitches. To make your own TP designs, reduce the density of the satin and fill stitches, and be sure to use longer running stitch lengths.
Try a free demo of the Design Doodler to watch your doodles come to life! You’ll be “on a roll” embroidering your next toilet paper design!
If you’re looking for cute machine embroidery designs to embroider on your toilet paper (without tearing), here are some fun designs that were digitized, especially with TP in mind.


Free Toilet Paper Embroidery Design
Our designs are digitized specifically for embroidering on TP (and they are stinkin’ great)! Don’t just take our word for it; try one of them for yourself!
Now that you’ve learned how to properly hoop, stabilize, and embroider your toilet paper, download your free design to create your own.

Conclusion: Embroidery On Toilet Paper Doesn’t Have To Stink!
Ok, you caught me. I had to make one more joke. I mean, come on, how often do I get to write about this stuff?
If you follow the steps listed above, you shouldn’t encounter any issues when embroidering on toilet paper, especially when using our low-density embroidery designs, as they’ve been specifically made for toilet paper projects.
Be sure to take it slow, get three-ply toilet paper, and use designs that were digitized with the proper low-density stitch settings in mind so your embroidery machine doesn’t tear your toilet paper to shreds.
P.S. If you want to give your embroidered projects a different look, browse through our giant collection of machine-friendly embroidery designs. Plus, check out our Embroidery Legacy Design Club to learn how to save on our entire database of 30,000 quality designs. Or, if you’ve never tried our designs before, download our free Embroidery Legacy Design Kit.
Hi Jesse Deer thank you so much for sharing all of your tips and tricks. Love trying out new things all the time.
Here’s hoping i don’t have a crap time when having ago 🙂 Thank you
Ahah my pleasure Hayley!
Great pun by the way ?
I enjoyed laughing much about the toilet paper sayings.
Thanks for being amusing.
Margaret
Haha glad to hear you got a chuckle Margaret 🙂
Watched this laughing all the way ha,ha,ha
Much easier than previously shown on other sites
Thanks Janet, happy to hear that.
Thank you I have wanted to try and wasn’t sure how to do it!
Happy to help Nancy!
I enjoyed your tutorial on toilet paper embroidery. And as great and good as all your tips are, I am still going to embroider on felt and make it into a wrap for the toilet paper roll. I just can’t seem to get myself to give it a try on the paper! I have enough trouble on material – yikes on the paper! But again, the tips you shared about the design choice is excellent!
Hi Cindy, no worries I know there are other methods out there just thought we’d share ours. Thanks for the kind words, we appreciate your support 🙂
thank you
Welcome Mary 🙂
Great tip! Thank You!
Our pleasure Sydna 🙂
John and Jesse, what a novel way to use TP. Keep up the good work.
Thanks Chuck!
Great! I was laughing out loud reading the article and thought, we are on the first of April. But the how-to was very interesting to me.
Glad you got a chuckle Heike 🙂
I thoroughly enjoyed this tutorial! It is definitely a project that I am going to give a try. I have 2 bathrooms and can find lots of ways to decorate with your cute little sayings. Thank you so much again for your free tutorials. They never disappoint!
Thanks for the kind words Christine. Glad you enjoyed this tutorial, many more to come 🙂
Maybe I’ll try embroidery on toilet paper. I have always thought “why”??? But it’s cute!
Haha I hear you Penny, I think that’s most embroiderers response to embroidering on toilet paper until it hits you that it’s just so ridiculous that it’s fun.
Great Job 🙂
And they are so Stinking Cute.. Pun intended. LOL 🙂
Hahaha thanks Penny!
Thank you
You’re welcome Alice 🙂
oh, poop! I forgot what I was going to say….
Great tip
Thanks Ginny!
Love it.
Just recently saw articles on this but I like your way of doing it.
Something more to read in the bathroom than the Sears & Roebucks catalog. lol
Haha agreed, glad we could help provide some new reading material.
I’ve been absent for some time, but now I remember why I used to love this web site. Thanks , I will try and check back more frequently. How frequently you update your site?
Glad to hear it Vurtil, we try to post a new embroidery article every week 🙂
Where do you put the rest of the TP roll while embroidering? The hoop wiggles about like crazy and can send the roll flying (well, then the cat gets it and it’s all over the house)
Haha, good question Andrea. I usually unravel the toilet paper a little bit more and then pull a nearby table or nightstand close to place it on. Mind you, I don’t have a cat to account for so it might be a bit more difficult in your case 😉
Cool projects to think about.
I see all these posts are several months old so hope you see this. I am wondering why I need felt pads? and where do you find them?
Hi Marie, the reason is so you don’t have to use pins to secure the toilet paper and the pads allow it to slide on the table of the machine reducing resistance. Felt pads can be found on Amazon or a dollar store.
Thank you loved the tutorial and such a great way to hold the toilet paper in place. Never tried doing this but maybe tempted now. I have seen other tutorials in the past and some of them double over the first part of the toilet roll so you two or three layers of paper. Would you recommend doing that?
Hi Bev, thanks for reading! Sounds like it might be a good idea to try, but I haven’t found it necessary.
Watched this laughing ha,ha,ha. Much easier than I first saw. My grand sun used a target embroidered on the. Thank you for doing this
Thanks for watching Christine 🙂
Goedemorgen. Ik kan alleen maar 4×4 inch op mijn machine borduren. Hoe maak je het dan op de toiletrol?
Hi Wil, ensure the design you choose to stitch out is within your hoop requirements. We have several toilet paper designs that would fit your hoop. You can find them here 🙂 https://www.digitizingmadeeasy.com//product-category/embroidery-designs/in-the-hoop-projects/toilet-paper-designs/
Hi,
Awesome tutorial. It works great. I found a different way to hold down the toilet paper that works fantastic and I would love for you to try it too.
I had picked up some Glad Press and Seal to sew a minky blanket together (another YouTube video) and thought I would try it when embroidering on toilet paper and it’s so great I just had to share.
Just put the Press & Seal where you put the clips.
Let me know your thoughts please.
Thanks for sharing Pat!
Great technique thank you!
Thanks for reading!
Hi John,
It is funny to see your comments about embroidery on toilet paper. When I owned my embroidery shop over 15 years ago we did just that for people. I wish I could remember what we wrote on it. I will ask my friend who worker for me. It is a great gift!
It really is just a fun way to use embroidery! You’ll have to let us know when you find out 🙂