Satin, running, fill… sounds like a cross between clothing, jogging, and construction. But these are embroidery stitch types! What are these mysterious stitches, and when are they used?

We thought we would return to basics today and revisit our old friends under the needle. The stitches which make up all the wonderful designs we make! Learning or renewing your understanding of stitches is important to use them efficiently and beautifully!
What Are Embroidery Stitch Types & Why Are They Important
There are a few different types of machine embroidery stitches that all have different purposes. Here are the primary three:
- Running stitch: multipurpose stitch used to reduce trims and create fine detail. These are stitches, just like a sewing machine.
- Satin stitch: a lovely, shiny satin stitch creates a lovely fill or crisp, readable lettering. These stitches are just like a wide-close zigzag on your machine.
- Fill stitch: (such as tatami stitch) used plain or change to create patterned fills. These stitches are like a mix of running and satin stitches. They go back and forth closely, creating lovely textures.
All other embroidery stitch types are simple variations of the three main stitch types listed above. Master them and the creative possibilities are endless! Want to learn more about stitch types? Enroll in our Free Embroidery Digitizing 101 Course today.
Running Stitch

What is the running stitch?
The running stitch is like a slow jog of straight stitches. It serves the purpose of getting you from here to there, and you can use it in many ways!
If you look closely, it looks just like a sewing machine stitch. The machine sews by passing the needle through the fabric and locking the bobbin thread in place. It repeats this process in regular intervals. It can be short or long, each serving different purposes.
What is the running stitch used for in embroidery?
The running stitch is underrated!
Here is a list that shows how you can use it.
- Placement or tack down lines for applique and more
- Quilting and Trapunto
- Fine detail work and accent lines
- Medium-sized embroidery lettering and alphabets
- Creating fur texture

- Tripled up to create a “bean” stitch awesome for outlines.
- Creating gorgeous open fills like sashiko stitching.
- Scribbling or painting with long lines of stitches.

Do you love to draw and want to combine it with embroidery? Create stunning embroidery with a pen and the Design Doodler! Try a free Design Doodler demo to create beautiful running stitch sketches instantly!
How to use the running stitch
The running stitch is amazing, but there are some things you want to keep in mind. There are minimum and maximum stitch lengths you need to follow to get the best results.
- Keep your running stitch between 1.25 mm (minimum) and 7.0 mm (maximum). A good compromise is 2.5 mm.
- Use stitches larger than 3mm for basting but not larger than 7mm to avoid catching and snagging.
- Anything smaller than 1.25 mm is almost like stitching on top of itself and will be bulletproof if used too much. Often these small stitches will sink into the fabric and not be visible.
- When using embroidery software, the program treats curves differently. As the running stitch goes around a curve it needs to get smaller to maintain a smooth line.
- We recommend a minimum of 1.25 mm around curves. To work on small details, we recommend using “Straight” nodes. These nodes are all 2.5 mm and can complete designs with fewer stitches.
- As a result, the flat surfaces will not be noticeable.

-
- Above is an example of how the machine will shorten stitches around tight curves (remember this when thinking about digitizing letters).
Check out our Beginner Embroidery Guide to the Running Stitch to learn more.
Satin Stitch

What is the satin stitch?
Satin Stitch is like a zigzag on your sewing machine! (except really close together). It is a tool that fills areas and creates crisp letters and borders.
What is the satin stitch used for in embroidery?
Most people believe they only use this versatile stitch for letters, but that is false!
Here are some uses for satin stitch:
- Letter outlines
- Beautiful fills with a rippled effect
- Fringe and fun fur

- Embroidery patch borders
- Stitch “painting” using a jagged edge to blend colors.

How to use the satin stitch
Using the satin stitch requires a few guidelines….
- Never create an object with a satin stitch greater than 10 mm for large areas. 10mm is the maximum length for most embroidery machines. Your design will stitch fine in that area and then begin to skip stitches and tie off after each skipped stitch.
- Many people see a “trough” in wide lines of satin. You make these when you choose the “split stitch” option while digitizing. This stitch may seem big on the screen but smaller in real life.

- For clothing, never use a satin stitch larger than 7 mm. Anything larger will cause snags if you rub it against anything rough (like brick).
- Try not to create satin lines or objects less than 2mm wide, as these will stitch on top of each other.
- When digitizing foam, do not use the “Auto Split” option. It causes the machine to stitch up to 10mm to create satiny fills (remember to check your density).
Want to hear a satin stitch secret? Try our 3D Puff Stuff material to create amazing puffed designs without special digitizing! Simply place it down, stitch, trim, rinse in hot water, and dry with amazing effect!

Learn indepth about the satin stitch by reading our Satin Stitch Embroidery | How to Best Use this Stitch Type article.
Fill Stitch

What is the fill stitch?
Ahhh.. the tatami Stitch! The beautiful universal fill. This stitch is just a running stitch that alternates like bricks to create the fill.
What is the fill stitch used for in embroidery?
The Tatami stitch fits in many shapes, making it the most versatile of fills. You can use it to fill or create knockdown or underlay stitches.
How to use the fill stitch
- The key to tatami is this…. Always use this to fill larger objects and never small spots or lines. The brick pattern requires additional stitches at the object’s edges to change direction. This resembles a swimmer slowing down and flipping over in a swim meet.
- It does poorly on lines, and you will end up with too many stitches.
- It can drastically increase your stitch count, but you can adjust its length and density.
- Texture and Stamping. The amazing thing about Tatami is that you can create amazing textural patterns. Hatch Embroidery Software gives you dozens of choices to give luster and texture.

Selecting The Right Embroidery Stitch For Your Project
We’ve reached the most difficult part of our discussion on stitches…
How do you choose what to use?
Try different combinations to see how the appearance of your software may differ from what you have stitched. Always do a stitch out!
Here are some suggestions to keep in mind.
- Lettering: satin stitch up to 7 mm wide
- Accent lines: running stitch or triple running stitch (often called bean stitch)
- Letter or object outlines (smaller): running, triple, or satin stitch
- Patch or borders: satin stitch
- Fill: tatami or, in smaller cases satin
- Puffy foam: stain with the “auto split” turned off
We suggest you play around with the fill texture and also change the direction of your stitching. Doing this can create beautiful 3D effects, especially with a satin stitch.
Remember, you can also layer and blend your stitches with long and short stitches for a different look! Think of your stitches as paints and use them for highlights and low lights.
Conclusion: Experiment With Different Embroidery Stitches
Using the right stitch can allow you to create depth, patterns and produce works of art. Not all stitches are suitable for everything, but once you grasp the fundamentals, you’ll comprehend the pros and cons of each. Keep in mind that your design might look good on your screen. However, you won’t be able to determine the outcome until you try it out.
P.S. Want to know the biggest secret in learning how to digitize like a pro? By taking our Digitizer’s Dream Course! In the three levels of this course, you can learn from John how to choose and use stitches as a digitizer. You’ll get course materials and step-by-step videos that will advance you in your embroidery journey.

John Deer is a godsend to us Hatchlings; I love how he breaks everything down and emphasizes what is important. I am so grateful to him for sharing his unbelievable wealth of knowledge.
Thanks for your kind comment Anne! We appreciate your support
Does the type of sewing machine make a difference? I have a babylock Aventura. It seems to dislike the bean stitch.
Hi Susan, that would be a question to ask your dealer as it would most likely have to do with top or bobbin tensions.
This is another great instructive article from John. I am always learning from him.
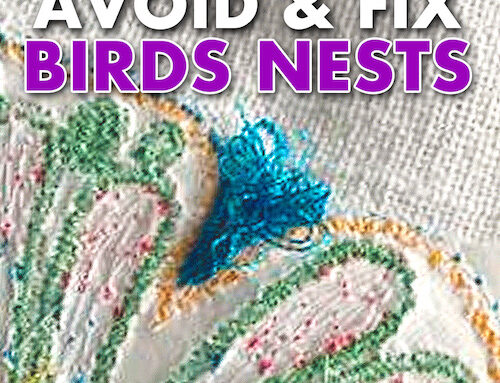
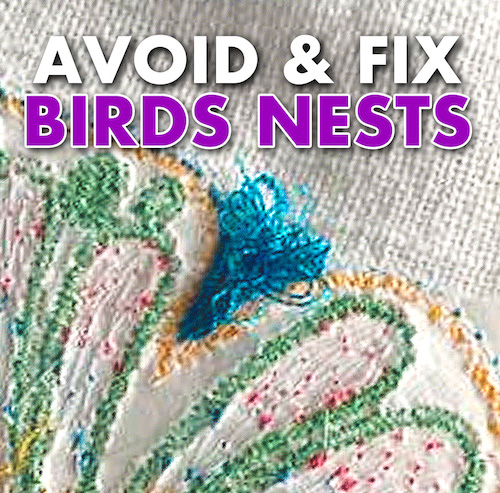
How are the stitches on the right side of the frame next to the examples of straight stitch, satin, and Tatami in the first photograph created? The straight stitch is obviously a straight stitch. But the other two?
Thank you John.
Hi Marjorie, yes that is correct. The right and left side stitches are the same on the screen vs what you see when embroidered