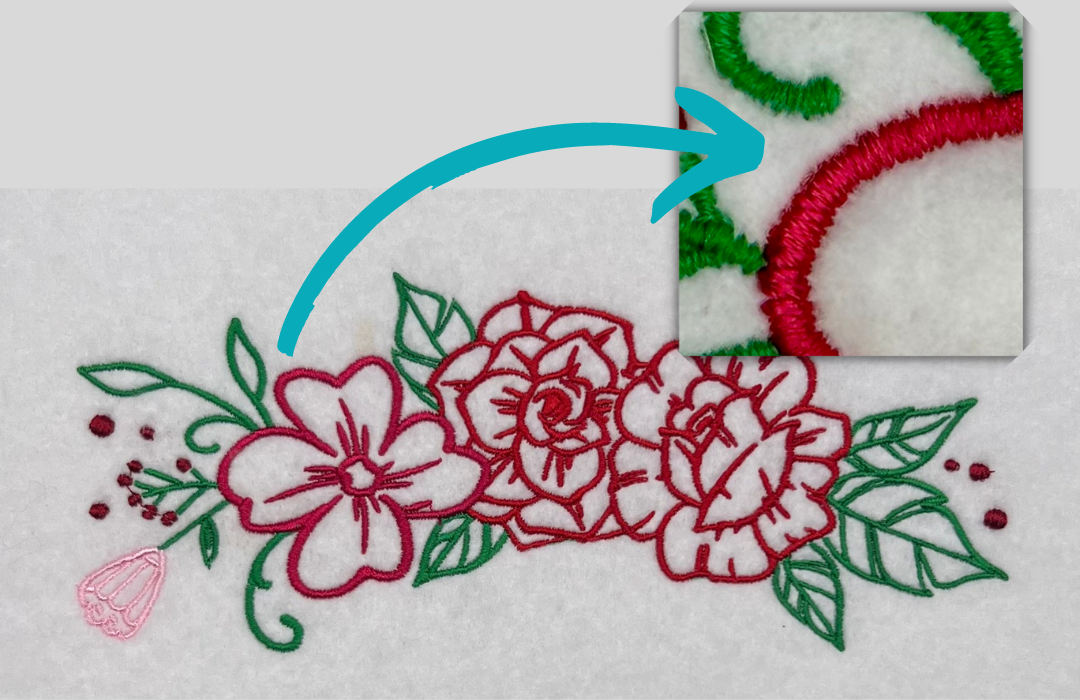
The satin stitch is one of the three main embroidery stitch types (running stitch, satin, and fill stitches). It is the most reflective stitch type, and it’s used primarily for lettering, borders, and outlining objects. Because of the physical nature of this stitch, when embroidered, it has a concave nature and reflects light creating a dimensional effect that differs from print.

What Is An Embroidery Satin Stitch?
Satin stitch is named for the effect it produces. It creates a lustrous shiny effect by layering threads side by side, making decorative stitching.
Satin stitch has a rich history; Japanese and Chinese embroidery used satin stitch to create lifelike embroidery. After the invention of the modern embroidery machine, the satin stitch became the staple of embroidery fonts & lettering on garments, hats, and more.
The satin stitch is a simple zig zag stitch.
If you go back and forth using a machine (or round and round by hand with embroidery floss), it creates a smooth, lustrous object. When you blend, you get a 3D appearance. If you change the angles, you get amazing depth and contrast. In many cases, it can look like two colors!

How Does Satin Stitch Embroidery Work?
The satin stitch works by making a stitch on one side of a line and then moving the needle to the opposite spot. The stitch is locked in there, and then the needle returns to the next stitch, which is nestled against the first. Step by step, this creates a zig-zag appearance with straight stitches.
A satin stitch is simply a zig zag stitch in which the length (distance from each other) is very small, so the threads lay side by side.
Using Satin Stitches In Machine Embroidery
The satin stitch is less durable than shorter stitches (like the tatami stitch). It can easily be snagged or frayed, and when using silk or rayon, it is much more delicate and needs care. However, despite these limitations, you can use it in most of your embroidery.
Learn more about the main fabrics used in machine embroidery and how to embroider them properly.
The satin stitch is less durable than shorter stitches (like the tatami stitch). It can easily be snagged or frayed, and when using silk or rayon, it is much more delicate and needs care. However, despite these limitations, you can use it in most of your embroidery.
When creating embroidery designs with embroidery digitizing, underlay within a Satin stitch can be used to dramatize the concave nature that reflects light and creates a dimensional effect. The two properties that can be controlled are the stitch length or width of the repeating stitch (1 to 12mm) and the density (space between each duplicate stitch). The angle or direction of the stitch can also visually reflect light and aid in lengthening the throw of thread within very small satin stitch borders.
Satin Stitch Embroidery Width Limits
The satin stitch can be used for lines, small objects, lettering, and many fills. It is not recommended to go below 1.5 mm and not over 10 mm.
If you are stitching a line below 1.5 mm, you will not enjoy the shiny surface. The needle will go back and forth and not have enough room to carry the decorative thread across the line.

For anything over 10 mm, your machine will not be able to process it. It will skip or tie off each stitch until the length goes below 10 mm. Most home machines have a limit of 10 mm. Many commercial machines can stitch up to 12 mm.
Want to create your own embroidery designs? Learn how to use the satin stitch with our Digitizer Dream Course. You’ll learn basic digitizing, stitch types, and the theory behind using these stitches. In no time, you’ll be producing soft, supple embroidery. The proof will be in the stitching!
Embroidery Stitches Satin Angles
Stitch angles are extremely important when creating a satin stitch in your embroidery software (note: be sure to use software that can automatically split stitches). Let’s look at some examples.

In lines, you want the stitch angle to be perpendicular to the line or middle of the shape. This keeps the stitches even and the satin fill smooth, as shown above.

When you move the angles too much, this can create long stitches and cause the auto split to turn on, as shown above.
Conclusion: Understanding the Satin Stitch Can Help You Get Better Embroidered Results
The satin stitch is a simple stitch that can be used in many ways to produce different and breathtaking results. As with anything, practice is important, and understanding the why and how has a crucial impact on your finished results.
P.S. Want better embroidery results? Download your free Embroidery Digitizing 101 Cheat Sheet Video Course to learn more about the satin stitch and other imporant basic embroidery theory.
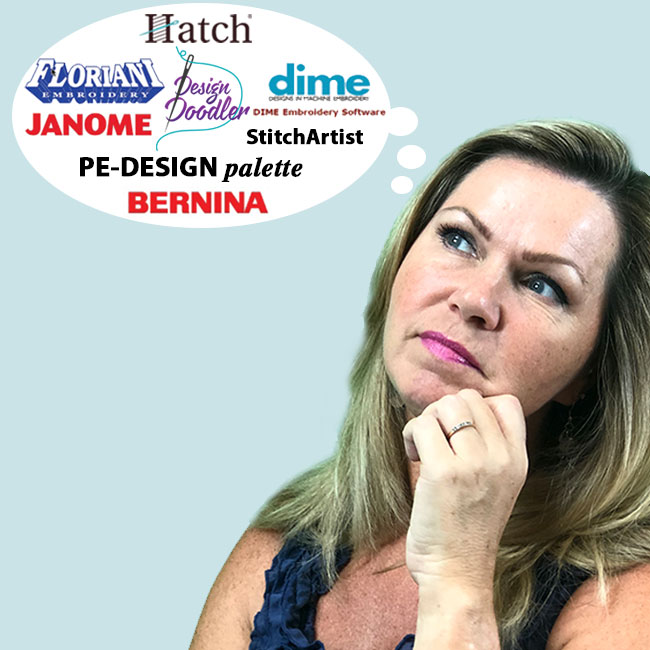
Can the doodler software be used with any program or do you have to have Hatch?
Hi Sandra, the Doodler is a stand-alone program so you do not need any other software to use it. You can however create a design in the doodler and then bring it into your Hatch software if you’d like to further edit or add text.
I’ve read your article. Honestly, I’ve never read this type of informative and efficient article before. This article will help lots of beginners like me to build skills in embroidery. Love to read your incoming blogs too. Really appreciate your work and dedication.
Thanks! We appreciate your support 🙂