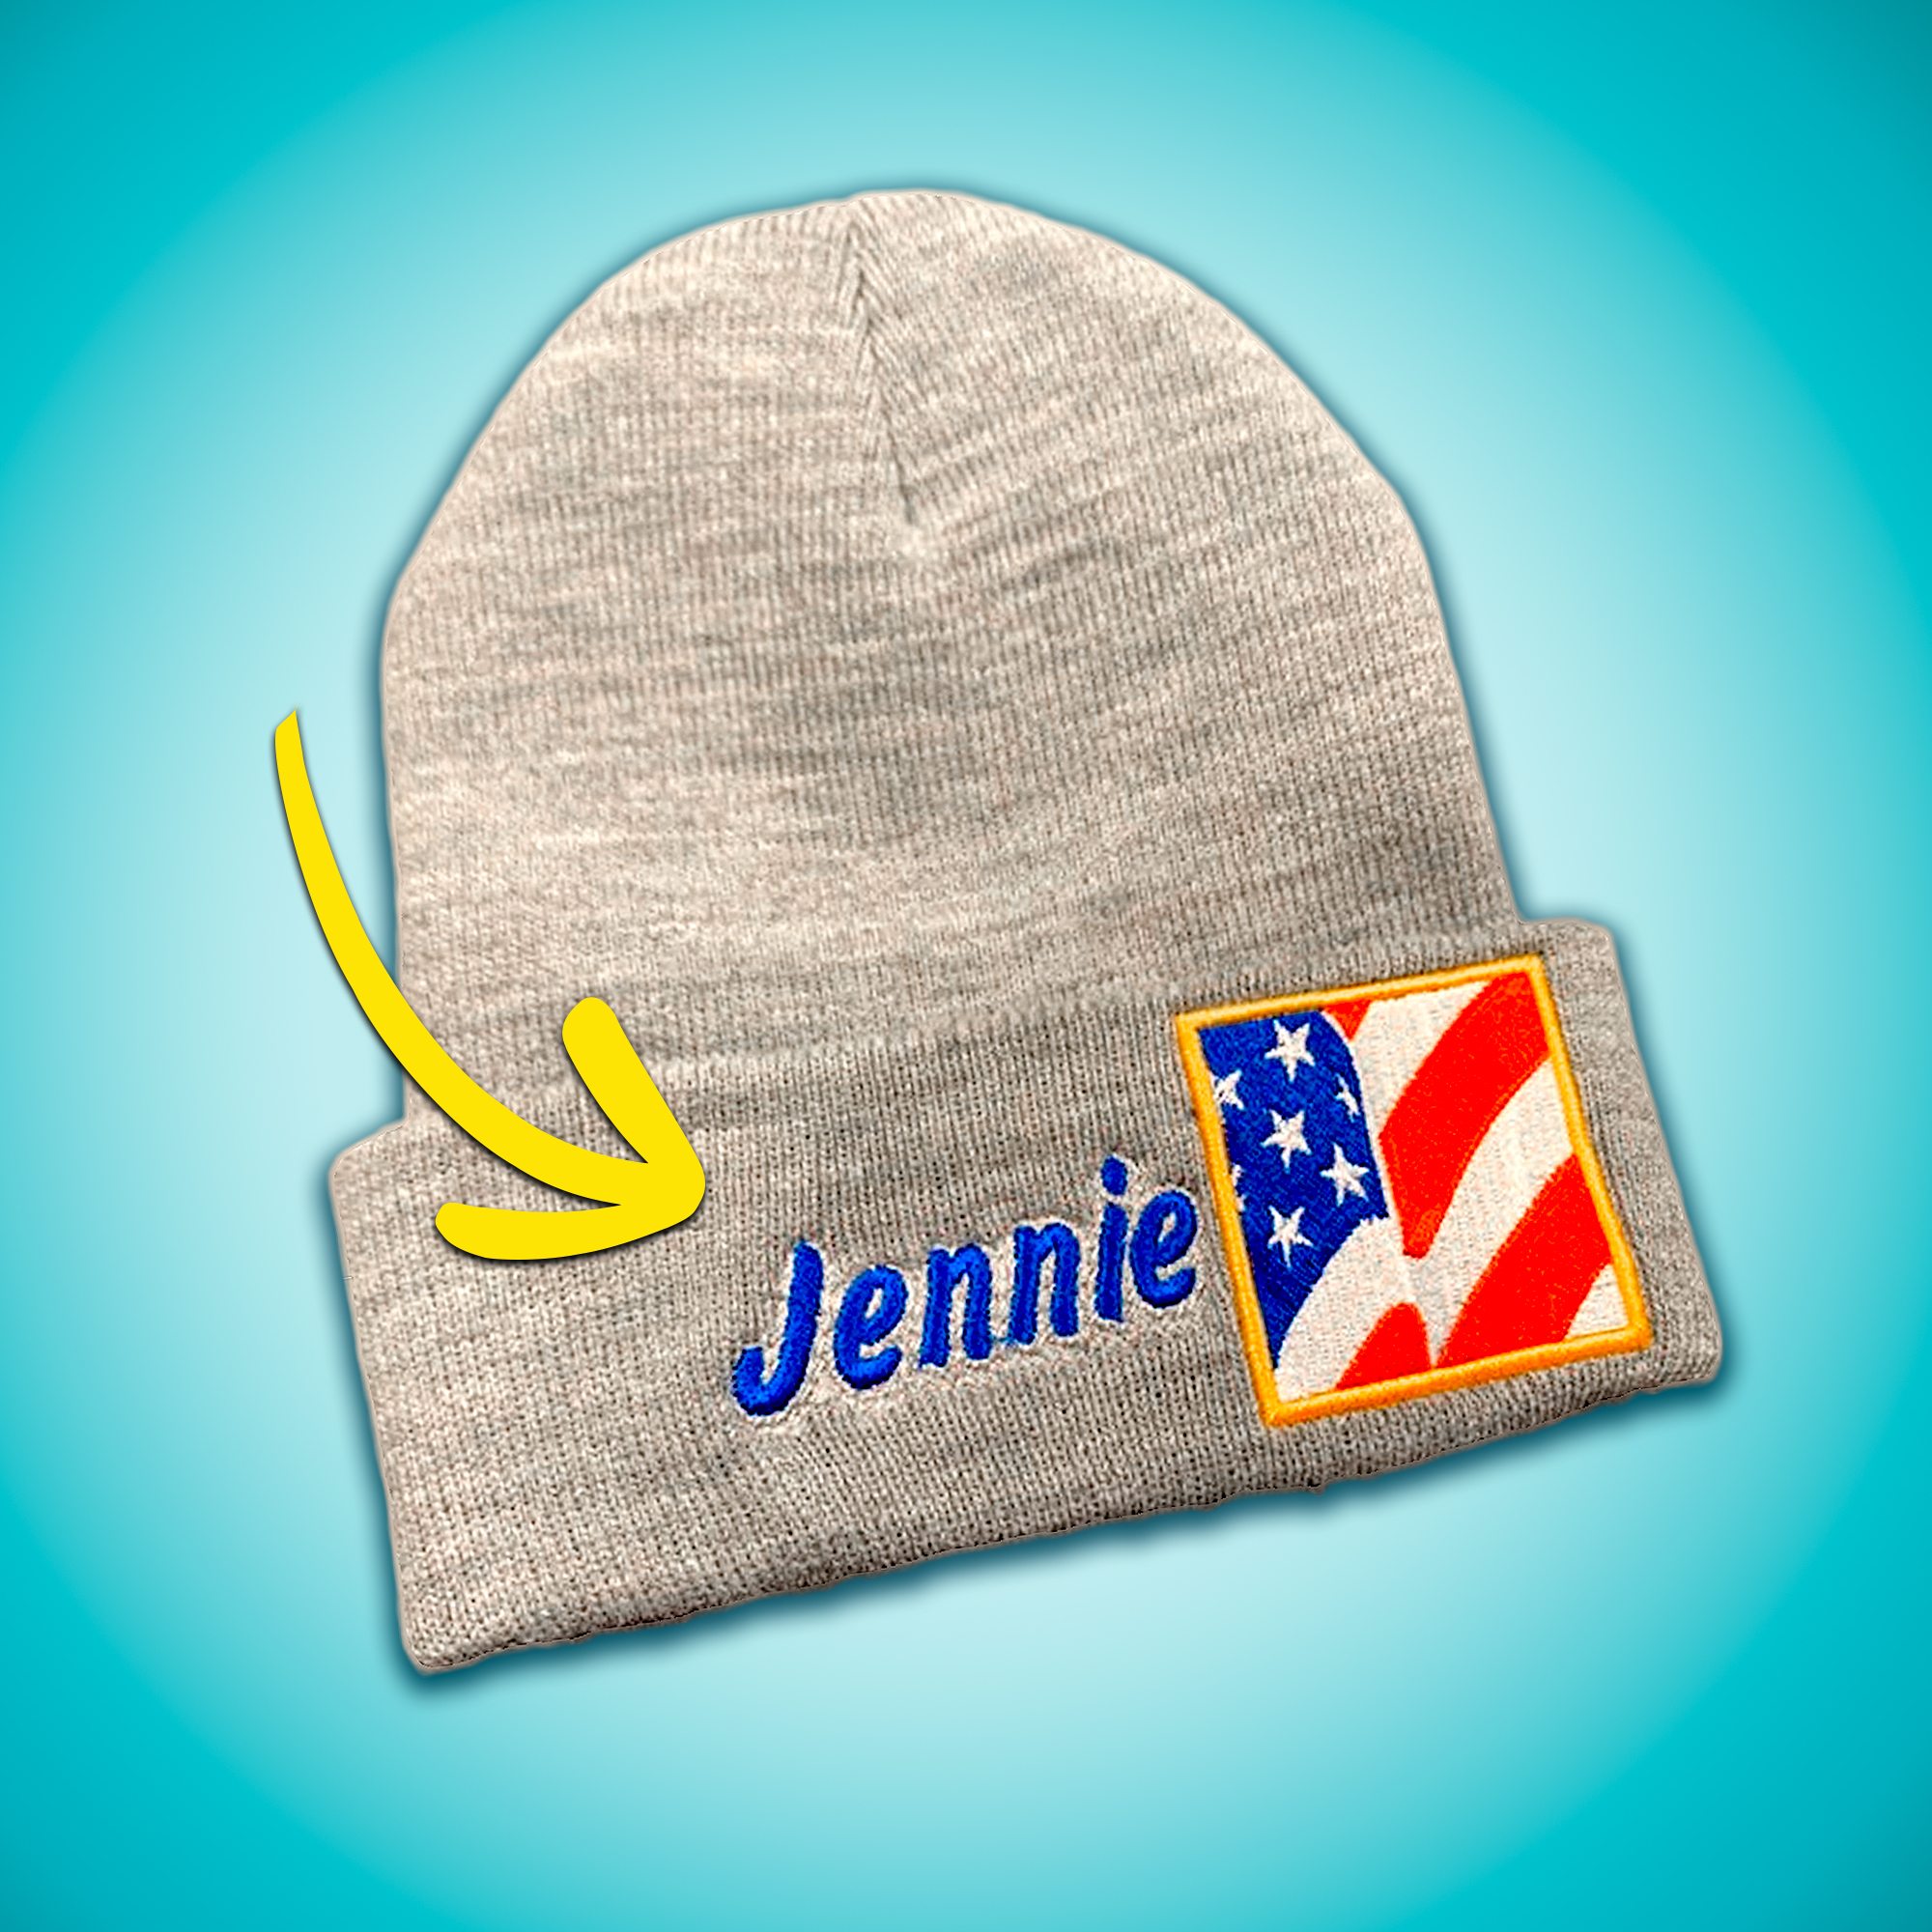
Beanie hats are useful in cold weather and winter fashion, but have you considered using them to show your creativity?

You can be creative and personalize your beanie hat with machine embroidery, giving you many options.
In this article, we will give you helpful advice and guide you on how to get the best embroidery results. Embroidering a plain beanie hat into a stylish statement piece is easier than you think!
How To Embroider A Custom Beanie
When asking about embroidering on a beanie, you’re really asking how to embroider on fleece or knit.
Knit beanies are stretchy and soft but can be difficult to embroider because of the ribbed knit. They are knitted in a circle, creating a tube and gathering at the top. Usually, knitted hats are thicker than fleece, so you need to prepare them to embroider on a stable base carefully.
Fleece caps are made and sewn together to have at least one seam, making placement more difficult.
There are a few things to consider when embroidering and creating custom beanies:
- It is very important to mark the “up” side before you go near a hoop!
- Since beanies have stretch, you must stretch them very slightly before stitching. When you wear the cap, the stretch under the design is the same as the stretch on your head. The beanie may seem strange when not worn, but it becomes perfect when you put it on.
Although it’s tricky, do NOT stretch your hat too much during hooping, as this will distort the design & hat.

The left beanie is how a well-sewn beanie will look when not worn. The ribs will look warped. When worn, the cap stretches out, and the ribs lay neatly on a person’s head!

3. Here is the most important point…. To make the cap look right, turn it inside out and sew the design facing up towards the edge.

Digitizing For A Beanie Hat
The knockdown stitch is a great tool for success on beanies! A knockdown stitch is a tatami stitch with a spacing of approximately 1.2 mm. When it’s color-matched with the beanie, it creates a stable platform for stitching.
Check out the video below, where John shows you how to apply the knockdown stitch in your Hatch embroidery software.
Adding Embroidery Techniques To Your Beanie
Why not add some sparkle and texture to make a custom embroidered beanie?
You can give your stitching a unique background or a 3D texture using an applique technique. Here are some suggestions:
- Magic sparkle sheets under your knockdown stitch
Because caps are fluffy, try sticking a sparkle sheet on the stabilizer and treat it like an applique! It has more stability and a great stitching surface.

- Puffy Foam or Puff Stuff to create a 3D effect.
Remember that Puffy Foam does require special digitizing, but Puff Stuff does not require any design adjustments.

Embroidery Designs For Beanies
Designs for beanies can range from lettering to images. When choosing designs, here are some suggestions:
- Keep your designs smaller, no more than 2-2.5 inches
- Choose less dense designs
- Avoid choosing a design with fine lines as they sink into the knit fabric. If you must use thin lines, choose the triple-running stitch.
With over 30,000 high-quality embroidery designs, we have the perfect design for the next project.
Hooping vs. Floating On Beanie Hats
This is a never-ending discussion! Hooping holds fabric more securely, but floating, for some, can be easier. Since beanies are smaller, they work fine with floating.
The Echidna Hooping Station is a quick and easy way to work on beanies! This hooping station works with virtually any embroidery hoop, and the small hoop is absolutely perfect for beanies and toques.
Save time and frustration by checking out our Echidna Hooping Station for perfect easy hooping with your beanie hats!

Stabilizer For Beanie Hats
Use a cutaway stabilizer, as the back side won’t be visible. But a heavier washaway stabilizer can also be effective.
Additionally, you can use a water-soluble topper to lift the stitching on top of the beanie knit.
With so many kinds of stabilizers, it can be hard to decide which one to use. Check out our complete embroidery stabilizer guide to help you get the best results on your next embroidery project.
Thread For Beanies
Generally speaking, any thread will work well, but metallics can snag on the fibers of the knit. Don’t forget to get creative with your thread colors!
Learn more about what embroidery threads work best for your embroidery projects.
How To Machine Embroider A Beanie Hat
Okay, folks, here we are, the beanie tutorial!
Step 1: To avoid confusion, we will indicate which side of the beanie will be visible when worn on the head.

Step 2: Mark the center where you want to embroider your design (we use a pin).

Step 3: Turn the beanie inside out.

Step 4: Tape your stabilizer to your hoop to ensure it won’t move when you pull the beanie over it.

Step 5: Lightly spray some adhesive spray onto the stabilizer and adhere to the beanie.

Step 6: Hoop your beanie and stabilizer. Remove the center pin if you used one.
Remember above we discussed the stretchiness of beanies. Since they stretch out slightly when worn you must simulate that in the hoop. Very slightly stretch the cap. It will look a bit off when it comes out of the hoop but when worn will look awesome!!

Step 7: Place your hoop in your embroidery machine and start embroidering!

Remember to have the TOP of the design closest to the EDGE of the cap.

Conclusion
Beanies sound really complicated and confusing, but as you’ve just read, they are easier than you think! With a little practice, you will be a beanie master in no time.
Remember this: sew the cap inside out, aligning the pattern up to the edge of the beanie! Follow this rule to succeed every time.
PS Don’t forget to try this technique using our 30,000+ stitch-friendly embroidery designs or our amazing embroidery fonts!


Danke für die hilfreichen Tipps
You’re most welcome!
Very helpful info! I’ve been embroidering on Beanies for a bit, but I’ve been having a lot of issues with designs pulling to the right when stitched out (No puckering or overstretching, just the design itself stitching out at an angle and not straight). I digitize my own designs using Hatch 3, and have been troubleshooting to the best of my ability to fix this issue but with minimal luck. I’m pretty sure it is a digitizing issue (maybe lol) but I’m having a difficult time with designs pulling, do you by chance have any guides geared towards fixing a pulling issue? Again thank you for being so helpful to everyone!
~ Mina
Hi Mina, digitizing is definitely a long learning journey! Of course we have a blog on pull and push compensation 🙂 here it is https://www.digitizingmadeeasy.com/push-pull-compensation-embroidery-digitizing/