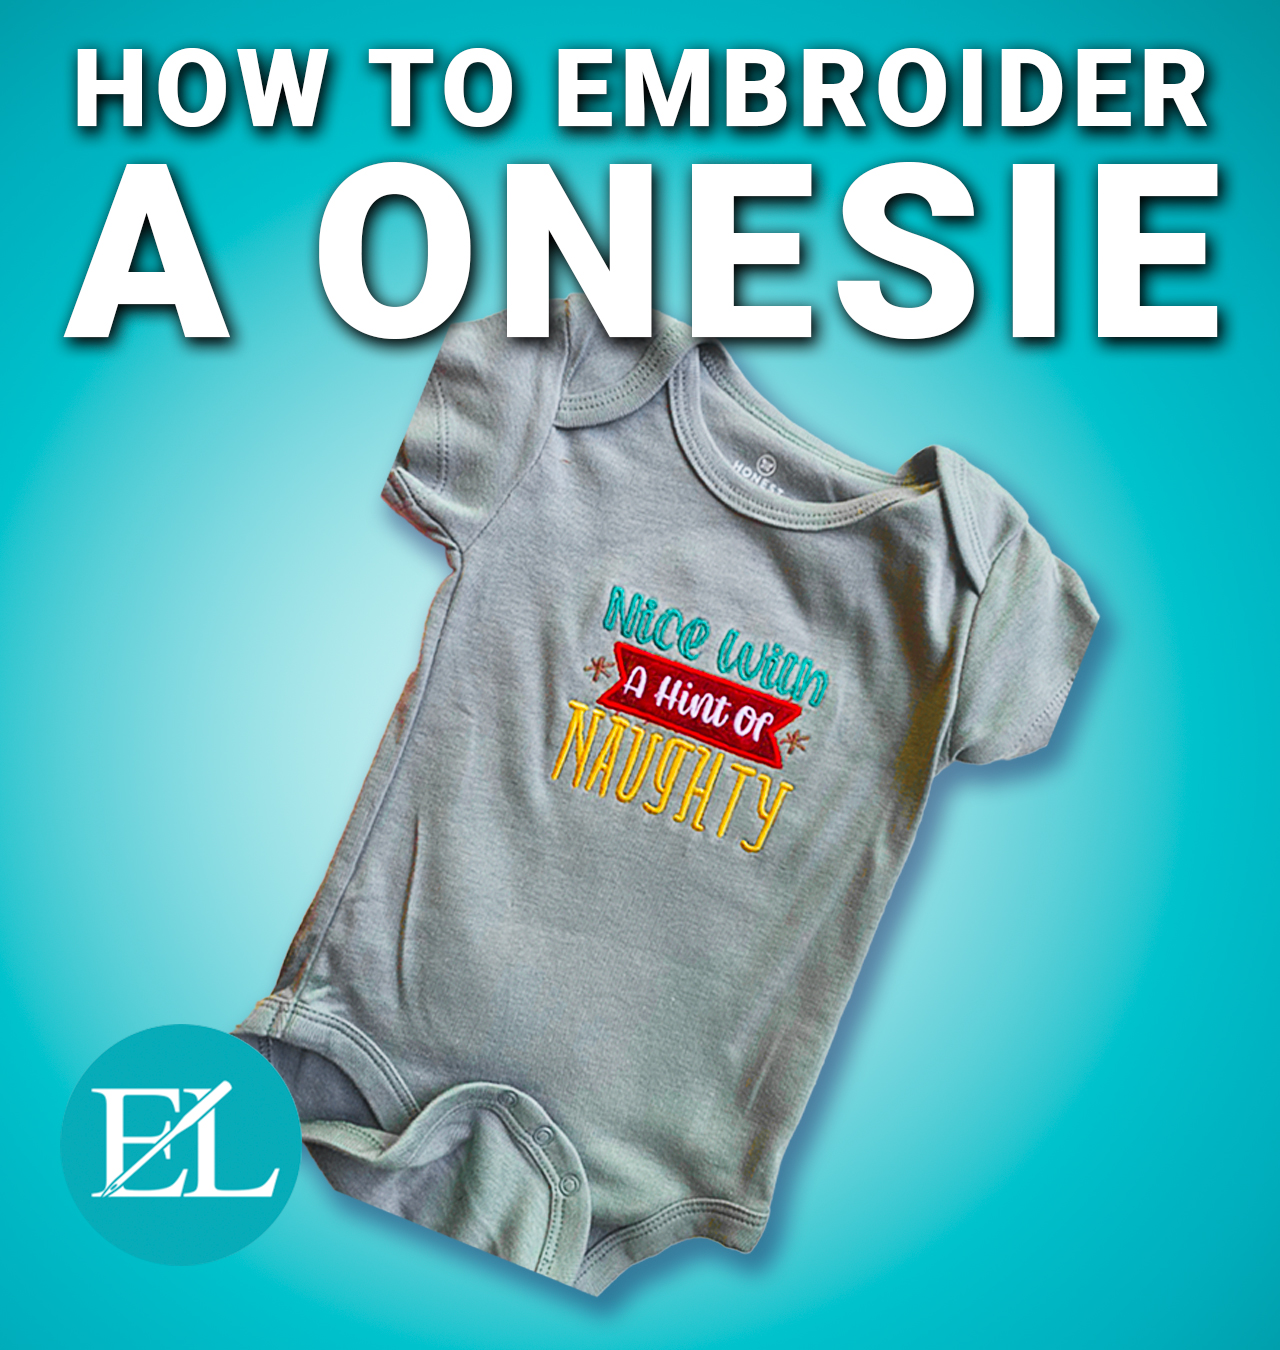
Onsie, twosie, threesie, four… embroider designs, and ask for more! Have you ever wondered how to turn these tiny garments into personalized wearable items or cherished keepsakes?

We will teach you how to embroider onesies for our little loved ones. Follow our step-by-step instructions and tips for the best results. We’ll discuss the best designs, stabilizers, and hooping methods to ensure a soft backing for the baby’s skin.
Where Can You Get Baby Onesies?
Onesies are easy to embroider and make wonderful baby shower or Christmas gifts.
They are available from most retailers in a rainbow of colors. Most manufacturers produce onesies from cotton or cotton blend, but you can find onesies made of virtually all fibers.
There are a few styles of onesies available.
- Solid Onesies

These are pretty easy to embroider! There are not many layers, but use a soft, fusible stabilizer to protect the baby’s skin.
- Button Front

These are a little more tricky; there are now two layers of fabric, and you need to take care to contain the fabric so it is not caught in a machine. Some of these unbutton, like the example above, and some are sewn.
The sewn versions need careful pinning to keep the excess fabric away from the stitching surface. An advantage to the doubled style is that you do not need to cover the back of your stitching! The second layer of fabric makes great padding.
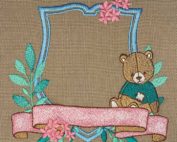
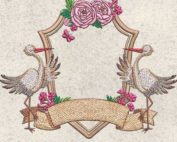
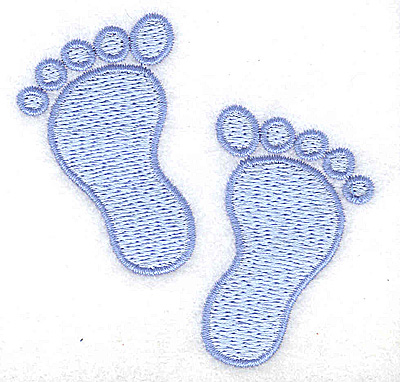
Baby Embroidery Designs For Onesies
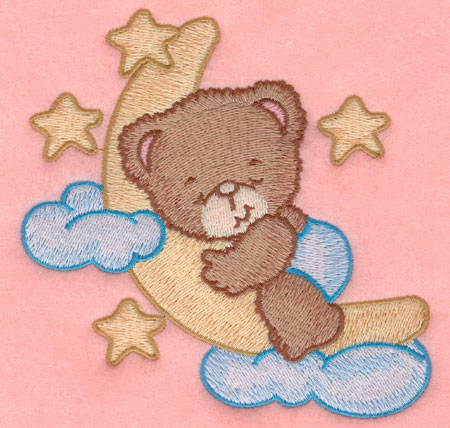
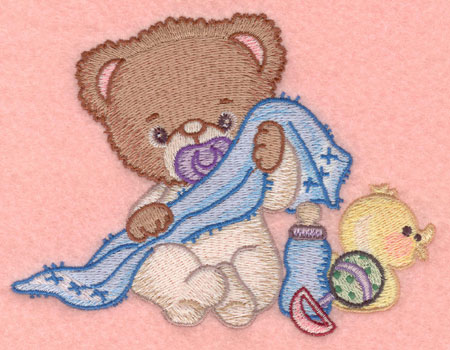
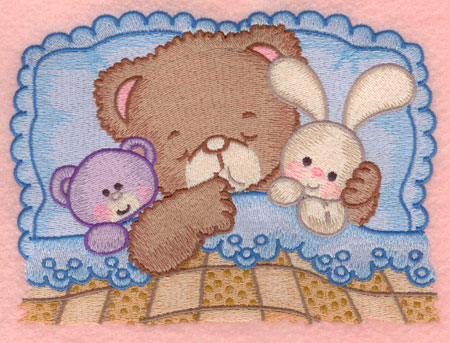
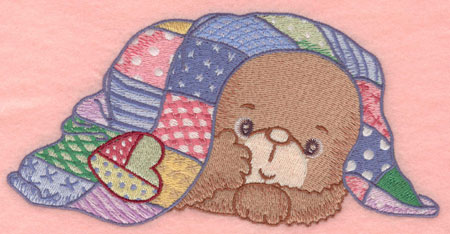
Onesies often have designs like teddy bears, bunnies, and elephants. You can also try new ideas like cartoon characters, fun sayings, and personalized names.

For onesies, it is recommended to use designs that are no bigger than 4×6 inches. This is because onesies are small, and there isn’t much space on baby clothes. As these kidlets get bigger and have larger clothing, you can resize your designs to match. Primarily, you want to have 1.5-2 inches from the sleeve.
When embroidering baby garments, look for less dense designs as they’ll appear softer and more supple. Always ensure that you buy designs from a reputable designer who has proven and tested their designs. Denser designs will require more stabilization or ruin your garments.
Check out our 1200+ high-quality baby embroidery designs to perfectly embellish your next baby project!
Why not try an applique if you find designs or characters you love?

Appliques are wonderful for babies because you can embellish your work with different textures, patterns, and fabrics. Babies like soft textures, but remember they are harder to clean.
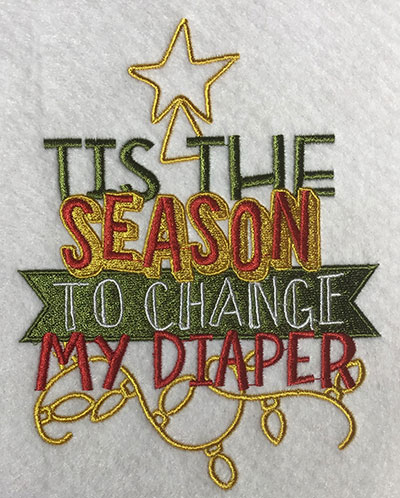
Everyone loves personalized items! Don’t be afraid to put the baby’s name or embroider a special message using a fun or cursive embroidery font! The type of font used can make or break a project.
Check out our large number of embroidery fonts to perfect your next onesie!
Please note: avoid any items a baby can pull off, such as ribbon (unless secured), buttons, bells, beads, etc. You would not want your curious bundle to learn to remove and ingest these.
Baby Onesie Stabilizers
Onesies are made from stretchy knit and require good stabilization. We recommend using medium or lightweight cutaway stabilizer or poly mesh. When using polymesh, try rotating one piece at a 90-degree angle to the base layer. This will provide all-around soft stabilization.

Two layers with one placed in a rotated position will create a stable base.
How To Hoop A Baby Onesie For Embroidery
Hooping is the most difficult part of embroidering a onesie. The most important part of hooping is to ensure that your onesie is clipped/taped/pinned out of the way! Because they are so stretchy, you have a lot of play in the fabric.
We do not recommend floating as there are so many folds in onesies (especially the button front), and the fabric is soft and stretchy.
Use clips and pins to hold the fabric in place while stitching to avoid obstructions.
How To Embroider A Onesie
Follow these steps for embroidering a one-piece onesie (not the diagonal button front).
- Print out your template within your embroidery software.
To easily print a template from Hatch, select FILE>Print Design.

2. Using your printed template, a washable pen, and a ruler, mark your onesie.
3. Find the center of your neckline and mark it.

4. Using the line of the fabric, mark a center line. To double-check, measure in from each arm to verify (some knits are not always straight).
5. Using the marks you made, fill out our horizontal line.
6. Set aside your template for later if needed.
7. Cut a square of medium-weight cutaway stabilizer sized for your hoop.
8. Turn your onesie inside out.
9. Using spray adhesive, lightly spray a piece of stabilizer.

10. Place your stabilizer on the onesie.

11. Grab the stabilized fabric in your hand and turn the onesie right side out. This keeps the stabilizer in place while you turn the fabric.


12. Insert the bottom of your hoop in the middle of your onesie and line up with your placement lines.
13. Apply the top of your hoop securely so your hoop is attached to your garment. Make sure not to stretch the fabric!
14. For flatbed users, clear the underside of the hoop of the onesie back fabric by securing it using clips.
15. Insert your hooped onesie into your embroidery machine and embroider! It is very important to ensure that your design faces up (the neckline), especially for flatbed machines. Remove the garment from the hoop and trim any excess stabilizer from the back.
16. Iron on a soft, sheer, fusible stabilizer on the back of the design to avoid scratching the baby’s skin.


Don’t be afraid to add fun applique to your next baby onesie!

Tips For Embroidering A Onesie
Well, we got it embroidered! Let’s discuss some tips to make your results perfect!
- Use cutaway stabilizer; you can use mesh stabilizer for non-stitch-intensive designs.
- Cover the cutaway stabilizer with a soft fusible stabilizer to hide tie-offs and prevent skin irritation or scratching.
- Choose less stitch-intensive designs.
- For those using a single needle, use clips to gather the onesie and keep excess fabric away from the frame’s center.
- Metallic threads are great for ornaments, table runners, and some clothing accents, but not for babies! Metallic thread is a bit too rough for delicate baby skin.
- Use a ball-point needle for better stitching.
- Use ultra-clean, washable kids’ markers to mark your placement lines.
Conclusion
Onesies are the perfect gift for babies. They are simple to embroider. With practice, you can make plain onesies into colorful ones. What type of onesie is first on your embroidering list?
P.S. Check out our Embroidery Legacy Design Club to learn how to save on our entire database of 30,000+ quality designs. Or, if you’ve never tried our designs, download our free Embroidery Legacy Design Kit.
Leave A Comment