Custom machine embroidered patches are a hot commodity for almost any machine embroiderer or any machine embroidery business. We are excited to share our knowledge with you, to help you create beautiful patches with soft designs.
 (1)")

Over the past few decades, technology and techniques have changed, and so have the supplies we use to create perfect patches. Our aim is to help you stay up to date and give you the tools you need to create authentic patches using modern techniques.
There are many different ways to go about embroidering patches, and we have created a formula to help you get it right from the start. Using our formula and the right supplies will have you crafting a flawless embroidery patch every time.
In this article, we will show you the different stabilizers you can use, which ones are easiest to work with, and which products will help you achieve a professional finish on all of your patches.
If you would like more in-depth knowledge on how to make embroidery patches, check out our free workshop for a replay of our twice sold out Patches Made Easy webinar. You’re about to learn some of my family’s best tips and techniques on making your own beautiful custom embroidery patches that we’ve been using since 1958 to create patches for companies such as Disney, the NFL, Boy Scouts, and more. Did we mention we’ll also give you a free circle embroidery patch? Click here for your free sign-up now.
Custom Machine Embroidery Patch Supplies
Stabilizers, Backings, and Patch Fabrics
One of the most important aspects of getting your patches to look and feel professional is the stabilizer you use. This product does exactly what it says – it stabilizes your fabrics to prevent puckering and other stitching flaws.
It would be best if you had the right stabilizer and patch-specific fabric to get a professional result. There are a few different options to choose from, so we will provide you with a list along with some tips and advice on how to properly use them, and which ones are the best.
Patch Backing Options:
1. No-Show Mesh Fusible Backing (Not-bad)
This cut-away backing has a heat press grid that creates a strong foundation for your patch stitch-out. It is incredibly strong yet soft at the same time. This stabilizer needs to be fused to your fabric using an iron.
After the mesh is fused, you need to apply a spray adhesive to the back to bond it with whichever stabilizer you will be using to finish your project. The no-show mesh is a great option, but we have a better alternative for you to use that will save you a bit of hassle.
2. Tacky Patch Fusible Backing (Best Choice for Flawless Results)
This is a product that will improve your patches out of the box. The tacky patch fusible is similar to the no-show mesh fusible in strength. The advantage of this stabilizer comes with reduced fraying and eliminating the need for spray adhesives.

Heat-press the tacky patch fusible stabilizer onto your fabric of choice and then cut it out. Then simply peel off the paper backing and stick the patch onto your stabilizer with a running stitch outline without a sticky spray adhesive. This product will save you time and ensure a non-sticky patch.
Interested in tacky patch fusible backing? You can purchase it directly from our store by clicking here.
Embroidery Patch Stabilizer Options:
3. Tear-Away Stabilizer (Not-Bad)
This is a good option if you’re looking for a stabilizer that is quick and easy to remove. Again, the tear-away stabilizer does exactly what it says – it tears away. After you’ve sprayed your fusible mesh backing with spray adhesive, or if you’re using our tacky patch fusible backing, stick it within your running stitch outline on the tear-away stabilizer in the hoop.
After you’ve completed embroidering your patch, simply tear-away the excess stabilizer by hand. Be sure to use tweezers or a soldering iron to remove any hard to get, leftover pieces of stabilizer. Although this is a good option, we have better options for you further below.
4. Water Soluble Stabilizer (Good)
We prefer to use this stabilizer over the tear-away option for a cleaner finish. Just like the tear-away stabilizer, glue your patches to a running stitch outline on this product. After the embroidery is complete, cut away the excess stabilizer.
Dip your finger in some water and run it along the edges of the patch to “melt-away” any excess stabilizer. This process usually removes unwanted stabilizer quicker and more effectively than the tear-away option. However, the next option is our preferred product in terms of stabilizers.
5. Prep-Patch Film (Best Choice for Flawless Results)
This film is extremely easy to work with and provides a very strong and firm foundation for your patches. Just as you would with your other stabilizers, stick your fabric with fused backing down on a running stitch outline embroidered onto the film. Be sure to have the smooth side facing up and the dimpled side facing down.
After your patch embroidery is finished, “pop” out your patch. You can remove film from your patch by ripping it away or by using heat. You can also leave the film on as it will help create a firm platform for your patch.

This film works best with poly materials and fabrics. It is a 100-micron film which is the perfect foundation for patches.
If you’re interested in prep-patch film and would like to use this product to improve your patches, or if you’d like to view a tutorial on how to use it, click here.
Embroidery Patch Materials:
6. Patch Backed Poly Twill (Best Choice for Flawless Results)
You really can use a variety of different fabrics for your custom patches (too many to list), yet our fabric of choice is Poly Twill with Buckram. Although the name of this product is a mouthful, the product itself is fantastic. This material was specifically designed with patches in mind. We wanted to create a fabric that gets you commercial patch quality results, and so we did.

Patch Backed Poly Twill has a heavy hold and weight due to its diagonal weave. It’s absolutely ideal for patches. What makes our Poly Twill truly special is that we have added buckram for extra stabilization between the twill and PVC, whereas general twill suppliers only offer PVC backing. This adds extra stabilization, ensuring your patches lay flat and have a stiff authentic patch feel. You can feel the difference when comparing any old fabric to this material.
Give it a try and you won’t be disappointed.
Click here to check out our patch backed poly twill offered in 16 different colors to give you a stiff authentic patch feel to your embroidery patches.
Embroidery Patch Extras to Ensure Beautiful Patches:
7. Mylar Embroidery Magic Sheets
If you want to give your patches extra shine and flare while at an affordable cost and lowering your fill-stitch count, Mylar is the way to go. Mylar is a partly reflective film that can be placed directly over your empty patch canvas during the fill process, or any stage of embroidery you desire for a rich, shiny look.

Place a small square of Mylar over your patch before your preferred stitch-out and tape it down on either side to hold it in place. When your design is finished, easily peel away any excess Mylar remaining.
Interested in trying Mylar in your own custom embroidery patches? You can purchase your own Mylar sheets to add a sparkly sheen to your next project and to view our tutorial on how to use it.
Here’s a quick video showing you how to add Mylar to your embroidery patch designs using embroidery software as well:
8. Post-Patch Iron On Seal
For a true professional finish, the post-patch iron-on seal is a must. This product allows you to turn any patch into an iron-on patch. Not only that, it leaves the back of your patch looking shiny and finished, with no trims or rough surfaces -especially great for those patches using multiple colors.

Before using post-patch iron-on seal

After using post-patch iron-on seal
The double-sided heat-activated seal allows you to apply patches to notoriously difficult garments or caps with ease. This final step of sealing your patch will create a sought-after, professional patch that you can be thrilled to show your friends, family, or clients.
After you finish embroidering your patch, heat-press your post-patch iron-on seal onto the back of your patch. When it has cooled slightly, peel off the paper backing to reveal your shiny, finished seal. We recommend finishing all of your patches with a seal to ensure durability when laundered and to give your patch a smoother and firmer feel.
If you’re interested in a more cleaner, professional finished look, click here to purchase your post-patch iron-on seal & to view our tutorial on how to use it.
9. Ready-Made Embroidery Patches
A great time-saving alternative to creating your own patches from scratch are ready-made patches. If you know you will be working with patches consistently or exclusively, this is a great option for you to instantly increase your profits.
Embroidery Legacy ready-made patches come in various shapes with true merrowed™ borders. They are 100% ready to be embroidered on and are very simple to use. Simply set up your design, hoop your stabilizer and run your placement stitch. Lay-down your ready-made patch and hit the start button. It’s that easy!

Embroidery Legacy ready-made patches will save you time and give you the most professional results possible. These patches come in circular, square, rectangle, and oval shapes. We even offer a discounted bundle for your convenience
Click here to check out our Embroidery Legacy ready-made patch shapes that include true merrow borders™. These patches are the real deal.
These patches are a no-hassle solution to getting your patches right the first time, every time. We provide you with a guaranteed placement process that holds your patch in place while embroidering. When the patch is finished, you can easily cut away the anchoring bobbin thread with no damage or thread remaining on the patch.
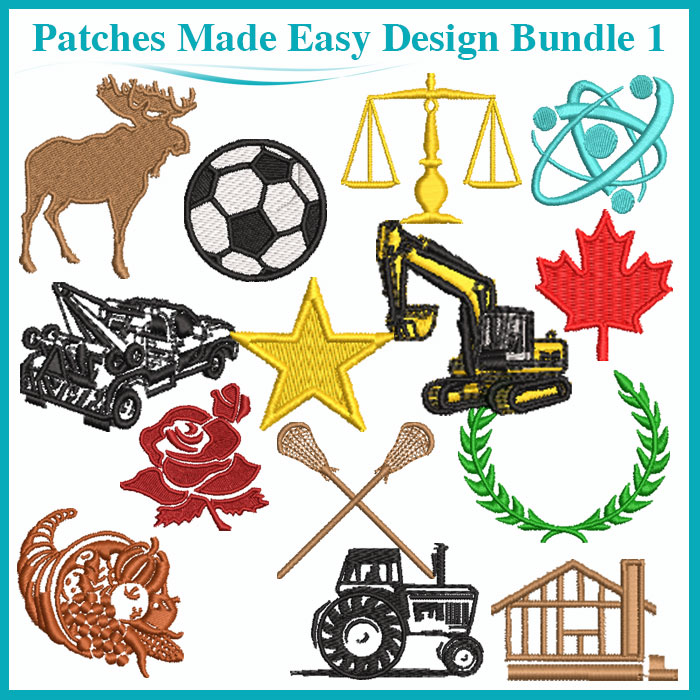
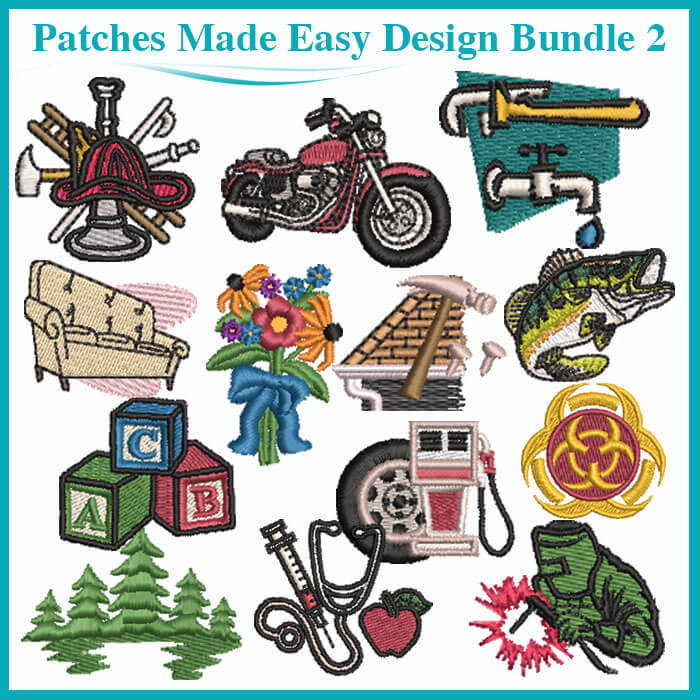
Although you can use any embroidery design you choose inside your embroidery patch, we have made things easier. We offer two different patch design packs that include designs to fit inside your patch perfectly. These include 75 designs in each patch design bundle that have a variety of images ranging from hobby, occupational, and lifestyle.
We offer classic patch embroidery design packs that fit perfectly within embroidery patches, no need for adjustment. To check out the Patch Design Pack 1 & Patch Design Pack 2, click here.
10. Spray Adhesive
As we have mentioned a few times, spray adhesive is necessary if you haven’t ordered any tacky patch fusible backing. You’ll need it to stick your patches down to your stabilizer before the embroidery process.
There are various different types of spray adhesives, and most of them will do the trick. We recommend purchasing some on amazon or your preferred supply dealer. This is a product that is essential in your supply cupboard as a custom machine embroidery expert to get the best results.
11. Kai HK0445 Scissors
To get a close, professional cut on your left over threads and stabilizers, you need the right tool for the job. Any old pair of kitchen scissors won’t “cut it” – pardon the pun. As a professional you are looking to deliver professional products, and you need professional tools.

The Kai HK0445 Scissors are an excellent all-round trimming scissor made from hardened steel sporting a slightly curved edge that allows you to get nice and close to those left-over pieces of fabric. They are specifically designed for cutting away excess stabilizer.
Interested in using the right scissors for professional looking patches? Check out Kai HK0445 scissors by clicking here.
Conclusion: Use The Right Supplies For Professional Patch Results
Remember to start with your fusible backing. If you’re using invisible fusible mesh, be sure to purchase spray adhesive. If you prefer to work without the mess and extra spray adhesives, be sure to check out our tacky patch fusible backing to ensure you still get quality results.
Your next set of supplies should consist of good stabilizers. Although common and easy to use, tear-away stabilizer is better replaced by wash-away stabilizer, but ultimately, prep patch film is your best option and will give you incredible results.
If a good fabric is what you are after, we highly suggest to give the patch backed poly twill a try. As mentioned before, it is designed specifically for work with embroidery patches, to deliver the best results as far as fabric goes with extra stabilization. The multicolor choices are a perk.
Finally, to finish your patches, we recommend our post patch iron on seal. If you really want to stand out with your embroidery patches, this final seal will give your patches the professional edge that will set them apart from the competition, while also using the heat-activation to apply to garments with ease.
And as always, if you want to save time and re-invest it into your hobby or business, try our ready-made embroidery patches. With various shapes to choose from and a guaranteed placement process, there is nothing more time saving and professional than this option.
We know that with these products, supplies and knowledge, you’ll be producing your own amazing patches with little stress in no-time. Click here for everything you need to succeed when making your custom professional embroidery patches.
Help, I downloaded the files for the 3″ rounds. I am very new and I need a video on what and how to use the files… So new. If a video already exists a link would be great. thank you
Hi Cristina, you would need to load and merge designs/fonts within the circle. The steps involved would depend on the software you own. The first step would be learning how to use the lettering/editing within your program, that is software specific and should be supported by the brand. If you own Hatch then our YouTube and FB Groups would be a great help in getting past the learning curve 🙂
Why isn’t it mentioned that before the patch edging is done, another patch form (say circle) is put on the back, attached with single line stitch and then the patch edging is done? To me this would make for a cleaner back if not attaching.
Your patch video is good….what needle size ?
Hi Jean, are you referring to the Velcro step? It creates a clean edge. I use standard 75/11.
I am not a patch man but I think these instructions and hints are really excellent and are a wonderful guide to making them.
Thanks Hans! Appreciate the support