Let’s talk about a truly sticky situation (pardon the pun)! For anyone who has had fabric slip, slide and slither around the hoop, or a cap creep around on the stabilizer, this article is for you!

We’re talking about adhesives. The sometimes savior of our projects, but caution my friend- even the best adhesives can turn against you if they are not used correctly. Let’s explore why we use adhesives in embroidery, the different kinds of sprays, stabilizers, and iron-ons available, and the pros and cons. Ready? Hold tight– here we go.
Why Use Adhesive Spray with Machine Embroidery?
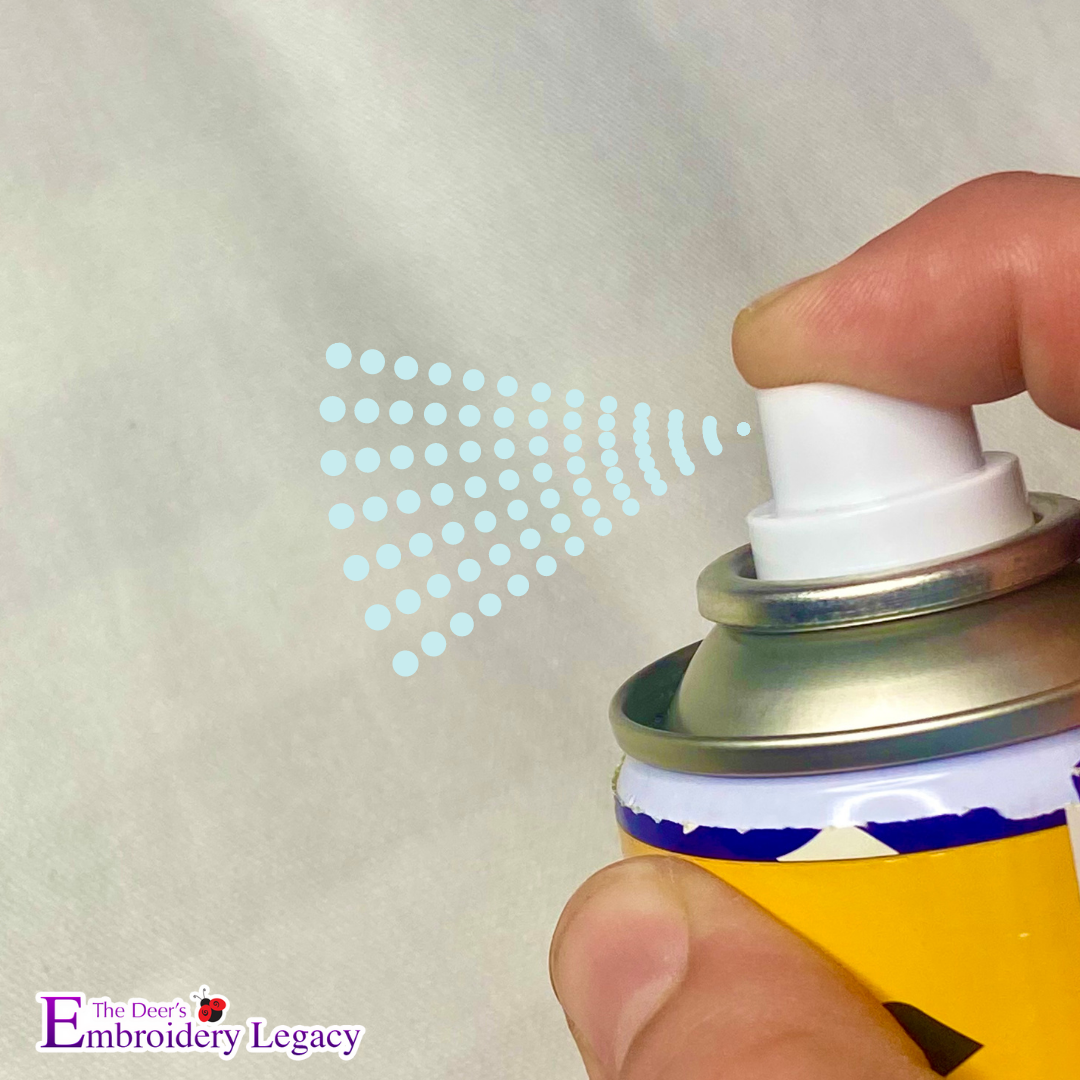
Spray adhesive can be a very valuable tool in machine embroidery if used correctly. It is useful in keeping slippery fabrics in place, minimizing wrinkles, and helping to keep the fabric from creeping while embroidering. It is valuable in placing stabilizer while hooping, resulting in a nice, even surface.
Adhesives are used in many ways in the garment industry, but we are interested in machine embroidery. We will focus on spray adhesive, heat-activated adhesive, and other types you will commonly see.
- Spray Adhesive – was first available when manufacturers could contain glue in a pressurized canister. It produces a fine to medium mist and an even coating. The difference between this type of glue and, say, your basic liquid school glue is that most spray adhesives are contact cement which means that you can spray two pieces of material, let the glue tack, and then stick together for a great bond.
- Temporary Embroidery spray – These sprays do not sink into the fabric. They are designed to land on it and allow you to hold fabrics together long enough to embroider and then wash away. These are not petrol-based and will dry quickly, so make sure to follow the instructions on the can. This is excellent for helping with small wrinkles.
- Quilting, Pattern, and Basting sprays – thought these were the same as Embroidery spray? NOPE! They are designed to have a longer bond.
- Iron On – Iron-on Adhesive is like a glue stick thinned out onto a sheet. You warm it up; it gets sticky, then it cools and holds two pieces together.
- Other adhesives – Glue sticks, bottled glue, cyanoacrylate (“super” glues), and more are not appropriate for fabrics. Even though the container or box may say “for use on fabrics,” that intent is that you will NOT want your ghost cutout falling off your Halloween costume.
- DIY Glue – There are a lot of recipes you can use for DIY glue, which is water-soluble from gelatin to paste-based, but those are not recommended for use with your embroidery machine.
Types Of Machine Embroidery Adhesives
- Sprays – EMBROIDERY “Tacky Spray” is generally a fine mist of adhesive which allows you to stick a piece of fabric or mylar etc. on another piece of fabric. It is designed to wash out. “Temporary” sprays are water-soluble and will dissolve the first time you wash your clothing. It is recommended to get a machine Embroidery Spray from a reputable vendor- most large thread and embroidery stabilizer companies have sprays that will work for you.
- Permanent – There are permanent adhesive sprays- these are not water-based; they are simply contact cement in a can, and as soon as that spray comes in contact with the fabric, something will stick to it, be it the paper on your table, another piece of embroidery fabric, dirt, etc.
- Stabilizers
- Iron on – these are heat-activated (think glue stick) sheets that can be bonded to another fabric or sold as a mesh/web that will fuse two fabric pieces. If you would not use a glue stick on your t-shirt or pillow, avoid anything iron on! Many of these have very fine coatings of adhesive and are designed for clothing, but remember that once that iron hits the fabric, you are committed. There are ways of removing excess glue if you make a mistake, but there is no guarantee that you will not be left with a mark.
- Water soluble – There are many types of wash away stabilizers that have a sticky back, and they will wash away in the laundry. Still, they leave a cellulose or cotton fiber residue behind, which can take several washings to remove.
- Here are a few examples:

No show mesh fusible: fusible side is shiny, non fusible side looks matted

Fusible tear away stabilizer

Tacky patch: fusible tacky backed stabilizer

Water soluble tacky backed stabilizer

Post patch: fusible iron on stabilizer

Sheer fusible adhesive fabric interfacing
When Should I Use An Adhesive In Machine Embroidery
- Hooping: When you have a slinky fabric that slides on your stabilizer or a small piece you are appliqueing.
- Remember, do not spray near your hoop or embroidery scissors. Lightly spray your stabilizer or iron onto your stabilizer or fabric, then hoop. Remember that spraying with a more permanent spray near the edges of the hoop will force the glue into the fibers of your garment under the pressure of the edges of your hoop.
Pro tip: If you do accidentally do get adhesives on your hoop we’ve found the best way to get it off is with baby wipes! As John Deer likes to jokes around: “They’re great for cleaning a mess off a hoop, or a baby’s bum!”

Want to learn more about stabilizers? Check out our Complete Embroidery Stabilizer Guide!
- Floating: If floating, lightly spray the area you are floating with a mask and then lay your garment over. A basting stitch can aid in securing it.
- Patches: You can use an adhesive spray or stabilizer.
You can pre-cut buckram-backed twill fabric and then carefully lay them into a pre-stitched placement line (yup, this is also one instance you will spray the fabric and not the backing). Or you can use Tacky Patch Fusible, which is a double-sided adhesive stabilizer that eliminates the need for any sprays and is very simple to use.
These adhesives helps keep that patch shape in place while you tack it down with stitches.
If you want to learn how to make custom embroidery patches or just havn’t checked out or recommended patch making process, we suggest doing so! Click here to watch our free Patches Made Easy Course, where we discuss materials, instructions, and a tutorial to help you create the perfect patch every time.
Embroidery Adhesive Problems
- Accidental bonding – It happens to us all. You have everything set, and you put down adhesive and bond the wrong side, the wrong piece, or worse. The FIRST rule is to stop and not try to do anything until you have read the label on the product. Do not immediately try to heat it more or try a cleaner as you can make your problem worse. A visit to the company website will tell you how to remove the product and if it is possible. Permanent petrol-based adhesives are removed by solvents (caution; some of those are oil-based and can leave a stain) and will not wash out. Washable adhesives will not come out with solvents; some need detergent, and others not. It is too difficult to give you a hard-fast rule except to stop and research.
- Needle gumming – you would not think a needle becomes hot, but they do! They can get just warm enough to slightly melt heat bonding and create a residue on the needle, which will cause embroidery thread breaks and bobbin troubles. Always check your needle, and if using a heavy heat bond material, slow your machine speed down a bit.
- Permanent stains – as we said above, you can get stains depending on the nature of the adhesive. Petrol-based spray glues can leave oily stains. Also, keep in mind that many spray and other adhesives have coloring (generally yellow), which will not come out and show in white fabric.
- Sticky workstations – Okay… Hands up for everyone who has over sprayed their embroidery adhesive and their hooping station or work table looks a bit fuzzy…. If you see grimy residue on your equipment or work area, you are spraying too much and TOO large! Only spray as much as you need to cover your embroidered area up to your hooped fabric (even less if you can). You can easily make a paper mask out of plain paper (not colored) to catch over spray.
- Other issues – for those of us with asthma or other breathing difficulties, sprays can be harsh. Work in a well-ventilated room. It goes without saying but NEVER EVER spray any type of adhesive near your machine!

Machine Embroidery Adhesive Tips
- Machine drying – Remember how you heated up your adhesive to adhere to it? Well, a good hot dryer can do the same thing. Occasionally you will get distortion of the embroidery from overheated adhesive. Additionally, overspray on a garment can stick to the inside of your dryer. You will not notice it right away, but eventually, you will see “grime” inside your dryer drum from fabric fibers of all colors sticking to it like a lint roller.
- A little test goes a LONG way! – It takes a little time but please test your spray on a small portion of fabric to ensure they work together to produce the effect you want.
- Chemicals – As we said above, chemicals can be harsh for breathing, but you will want to read the label for other ingredients.
- Repositioning fabric – Remember that sprays are put on the stabilizer, not the fabric. Using too much spray or spraying on both sides can create a good bond, but you may have difficulty repositioning your fabric and can distort it in the process.
- Removal – We touched on this above but do not rub, scrub, wash, clean with solvent or soap, scape, heat etc. until you have consulted the label. Getting in there and scrubbing will work into the fabric you want to take OUT!
- Consider a tack down stitch – Some applications just will not work, and pinning or tacking with a tack stitch will do the trick.
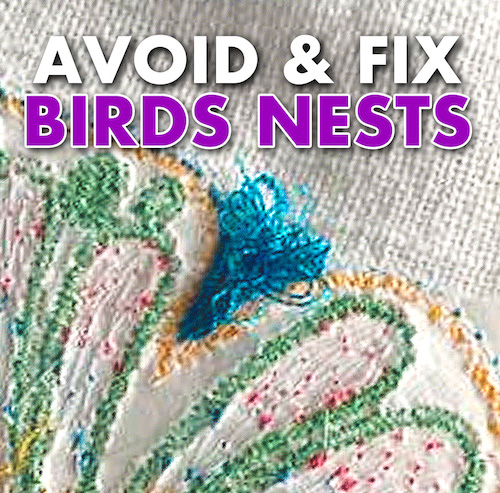
- Not a substitute for poor digitizing – Unfortunately, sprays and adhesives are used to make up for a poorly digitized design. When choosing embroidery designs, always make sure that you select good quality designs from a reputable digitizer since these should stitch out well with little aids.
Proper digitizing always gives you the best result. For more information on how YOU can learn to create your own beautifully digitized designs, click here to access our free Embroidery Digitizing 101 Course!
Conclusion: Adhesives Are A Valuable Tool In Machine Embroidery
This can be a lot to take in, but we’re pretty sure it will stick in your brain… In case it didn’t, here are a few things you will want to remember:
- Only use embroidery adhesive spray as that is generally temporary and water-soluble
- Use a VERY light mist and only spray your backing
- DO NOT spray near your machine or work area
- Work in a well-ventilated room
- Remember that sprays and adhesives are not substitutes for good hooping or digitizing.
Don’t forget, as hooping is one of the most important components of producing good embroidery, be sure to check out our Complete Embroidery Hooping Guide by clicking here for tutorials, tips, tricks, and aids.
Thanks for joining us; keep on Stickin’… whoops! Stitchin’!
THANK YOU FOR THE GREAT INFORMATION. Especially about the metallic Thread it is very hard to use. I am going to order the wine charm coasters.
I really enjoy your videos and information. Maybe one day I will be able to afford your digitizer.
Thanks for your support! Let us know if the metallic thread suggestion has helped you when embroidering 🙂
Making bowl cozies can you spray on batting and the finished product be placed in microwave?
I would contact the company of the spray