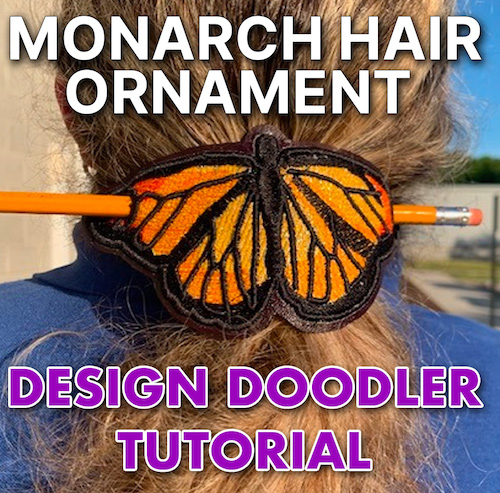
Do you want to breathe life into your embroidery designs?

With your embroidery software, let’s learn how to make lifelike facial features such as the eyes, nose, and mouth. We’ll show you what it takes to turn your fabric canvas into a masterpiece with embroidery digitizing!
Knowing how to create realistic facial features starts with understanding highlighting and shading to display depth and realism. From expressive eyes to detailed noses and lips, let’s bring personality and realism to your next embroidery design!
Throughout this tutorial, we use the Design Doodler software to create drawings into designs. Join in on the fun by trying a free Design Doodler demo!
How To Digitize Eyes In Machine Embroidery
Let’s start with the window to the soul, the eyes!
This is a picture of a human eye.

The shape of an eye gets a bit easier if you understand what shape it actually is and how it fits into the skull.
The eyeball is a large globe! The part visible is only a small part of the whole eye as the eyelids cover a majority of it.
This is the reason the corners of the eye seem sunken in.
The easiest way to practice is to work over a picture of a real eye and learn from repetition.
Let’s start with a basic eye. Draw the oval opening of the eye.

Close the inside of the eye by digitizing the bulge where the tear duct sits.

The iris is the round-colored part of the eye. It needs to be as circular as you can make it! When tracing the iris, zoom in on the artwork as it will make the line more steady.

Next comes the pupil. This is the dark part of the eyeball. It looks black because it is a little window into the inside of the eyeball, and there is no light in there.
Have you ever noticed when you take a picture and get a “redeye”? It appears this way from the light reflecting off the back of the eye, which has a lot of blood vessels.
Anytime after you digitize the pupil, you can add a highlight.
A note about highlights: they don’t appear in the center of the eye, generally to the right or left. They can reflect the shape of the light source, which can be square, round, etc.

We will use our outline of the iris to guide us where to fill in the color. We need that round line to guide us.
Since the eyelids stretch to close, like when you blink or sleep, the skin stretches out. When you open your eyes, the skin folds over and creates creases that can be made with simple running lines.

We will also add a heavier satin stitch line to illustrate the thickness of the eyelid. In this case, less is more; don’t make these lines too heavy and dense.
Now, add a little bit of shading. Just because it is “shading,” don’t be tempted to use only black. Experiment with other colors like brown, green, purple, and pink.

Add a few lashes to your upper and lower eyelids. Remember, the lashes inside of the eye are usually shorter than those on the outer corner.

Here is the final result of the embroidered eye.

After learning the basics, you can add more features to create a design like this!

Doodled by the talented Christine Buhr
How To Digitize A Nose In Machine Embroidery
Let’s move on to the nose!
With many different shapes, you can easily create your own unique nose. You can draw noses in many ways, from a simple swoop to a more detailed one.

This is what the frontal nose looks like:

We will start pretty basic! Let’s outline the main ridges of the nose.

To create depth, we will use three colors—light color for the whole nose, medium, and dark. We will use some dark (black) for the inside of the nostrils.

How To Digitize A Mouth In Machine Embroidery
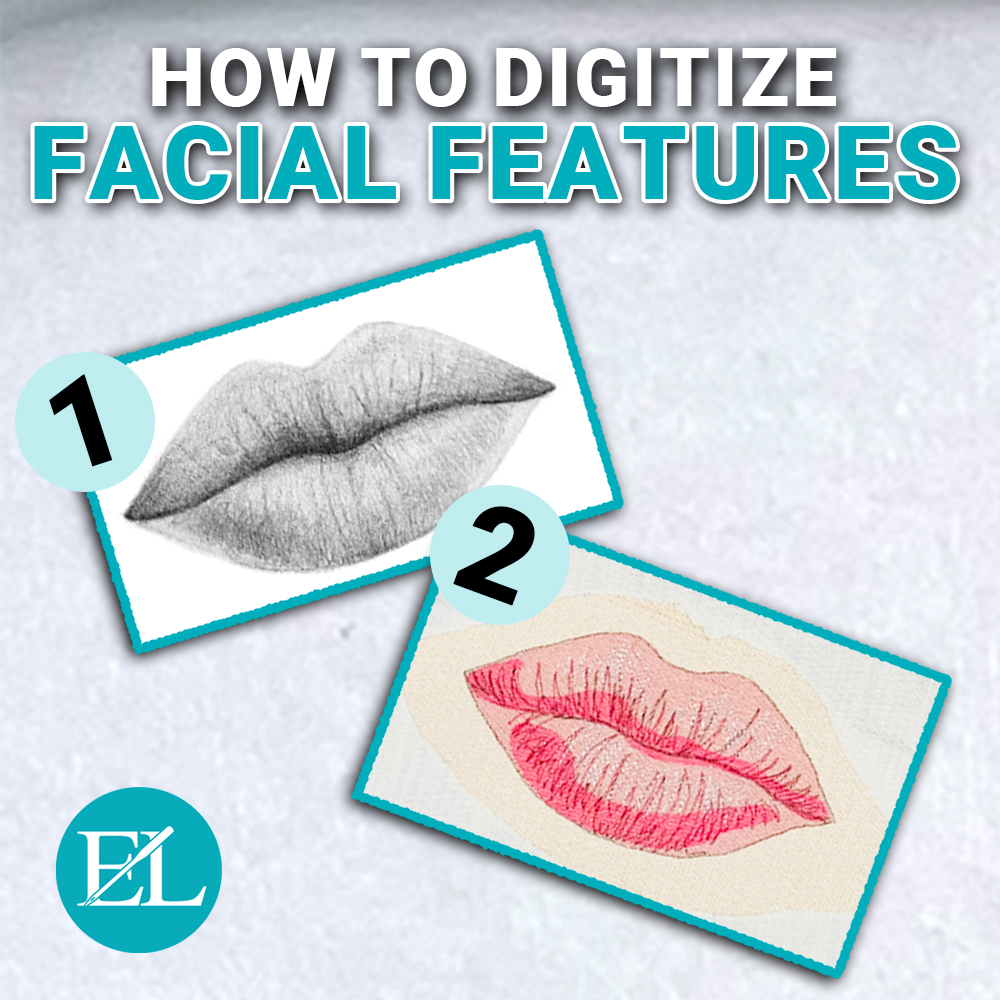
Well, we’ve arrived at the mouth!
Drawing a mouth can be easy; from a simple line to complicated artwork, they can be one of the best ways to show emotion.
People often find mouths difficult to draw until they understand some of the shapes of the mouth. The lips are light and dark colors, and you can use simple lines to depict the shape.

But we’ll create something a little more detailed….

To make it easier, we suggest using a drawing or artwork when you’re beginning to draw facial features.
We’ll start with a straight line to show how the opening of the mouth curves up and down to make the “cupids bow.” You don’t need to digitize this, but keep it in mind.

Digitize around the lips for a neutral-colored fill.

We will hide that lip fill for now and work on using three colors to show the shadows and highlights that create the lips.
First, the darker areas exist between the lips, and second, the lower lip’s undercut creates a shadow.

These lips are slightly dry; as you can see, some creases create the skin’s texture. We’ll use a medium color in a bean stitch to highlight those.
Remember that they don’t just go up and down; they curve with the shape of the lip.

Now, let’s use a darker color to continue the texture creases. We will use this closer to the bottom of the lower lip and the center of the mouth. Be careful not to use too much!
We ran a line back and forth along the center of the mouth for more definition. You will also notice a single run line around the lips; this is just for more definition but we don’t want it heavy!

Lastly, we’ll add some white highlights again, using those creases in the skin to capture that light!

Now let’s add back the background and see what we have!

Add in a neutral background and we have an awesome set of lips!

Easily Create Your Own Embroidery Designs
Bringing life to your machine embroidery designs lies at your fingertips! Embroidering realistic facial features is as easy as tracing using artwork when using the Design Doodler. Remember that creating realistic designs takes practice, but what better time to start than now?
P.S. Don’t forget to check out the Design Doodler to create your next realistic masterpiece!


Thank you so very much for the info on faces..Much appreciated.
Thanks for reading Laurie! Can’t wait to see what you create.
thank you very very very much!!!!
You’re most welcome!
Hi,
Great lesson!
I have the design doodler on my iPad I have Hatch 3 on my lap top that has a touch screen and, I also have a 20″ Yiynova pen monitor. All of these drawing devices must take a lot of practice or something. I have difficulty tracing outlines on on any of them. Everything I do just looks misshapen. Lines are all wiggly. Yes I do use a glove.
I’ve always been good with pencil, charcoal, felt pens, etc. There is something about the smoothness of the screen that makes my hand shake.
Is it just I need to practice, practice, practice? Is it the pen pressure? There are some things that just require freehand or they just take too long to do!
Please Help!
Hi Linda, I suggest being at a zoom factor of 300%-600%, the larger the zoom factor the less it will impact “shaky lines” at a 1:1 scale. Practice is your best friend.