Embroidery Classes Near You & Online Learning
Premium Embroidery Classes

Christmas in July Embroidery Extravaganza
Join us for our Christmas in July embroidery event on July 27th! Enjoy creating festive masterpieces without the holiday stress. Download over 90 stunning new designs and 5 in-the-hoop projects at a massive 93% discount. Learn new techniques in our live webinar and win over $1000 in prizes. Secure your spot now – tickets are limited and sell out fast!

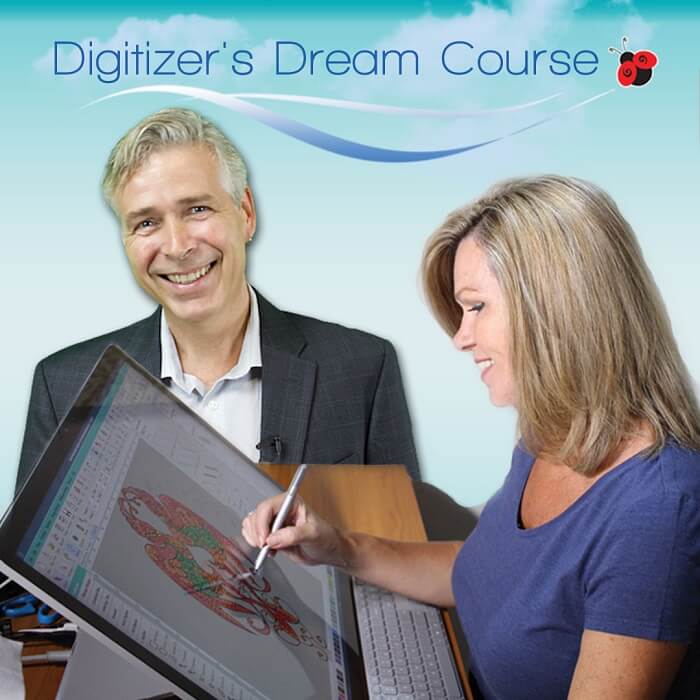
The Digitizer’s Dream Course
Want to transform your creative visions into embroidered masterpieces? Master the beautiful art of embroidery digitizing with our Digitizer’s Dream Course! Perfect for beginner’s and pros alike, this course is taught in 10 different software brands.
With step-by-step video lessons, expert tips, and practical exercises, you’ll quickly gain the skills to create stunning, professional-quality designs. Having taught over 10,000 embroiderers world-wide, we’re so confident we can get you creating your own designs, that we even offer a money-back guarantee!
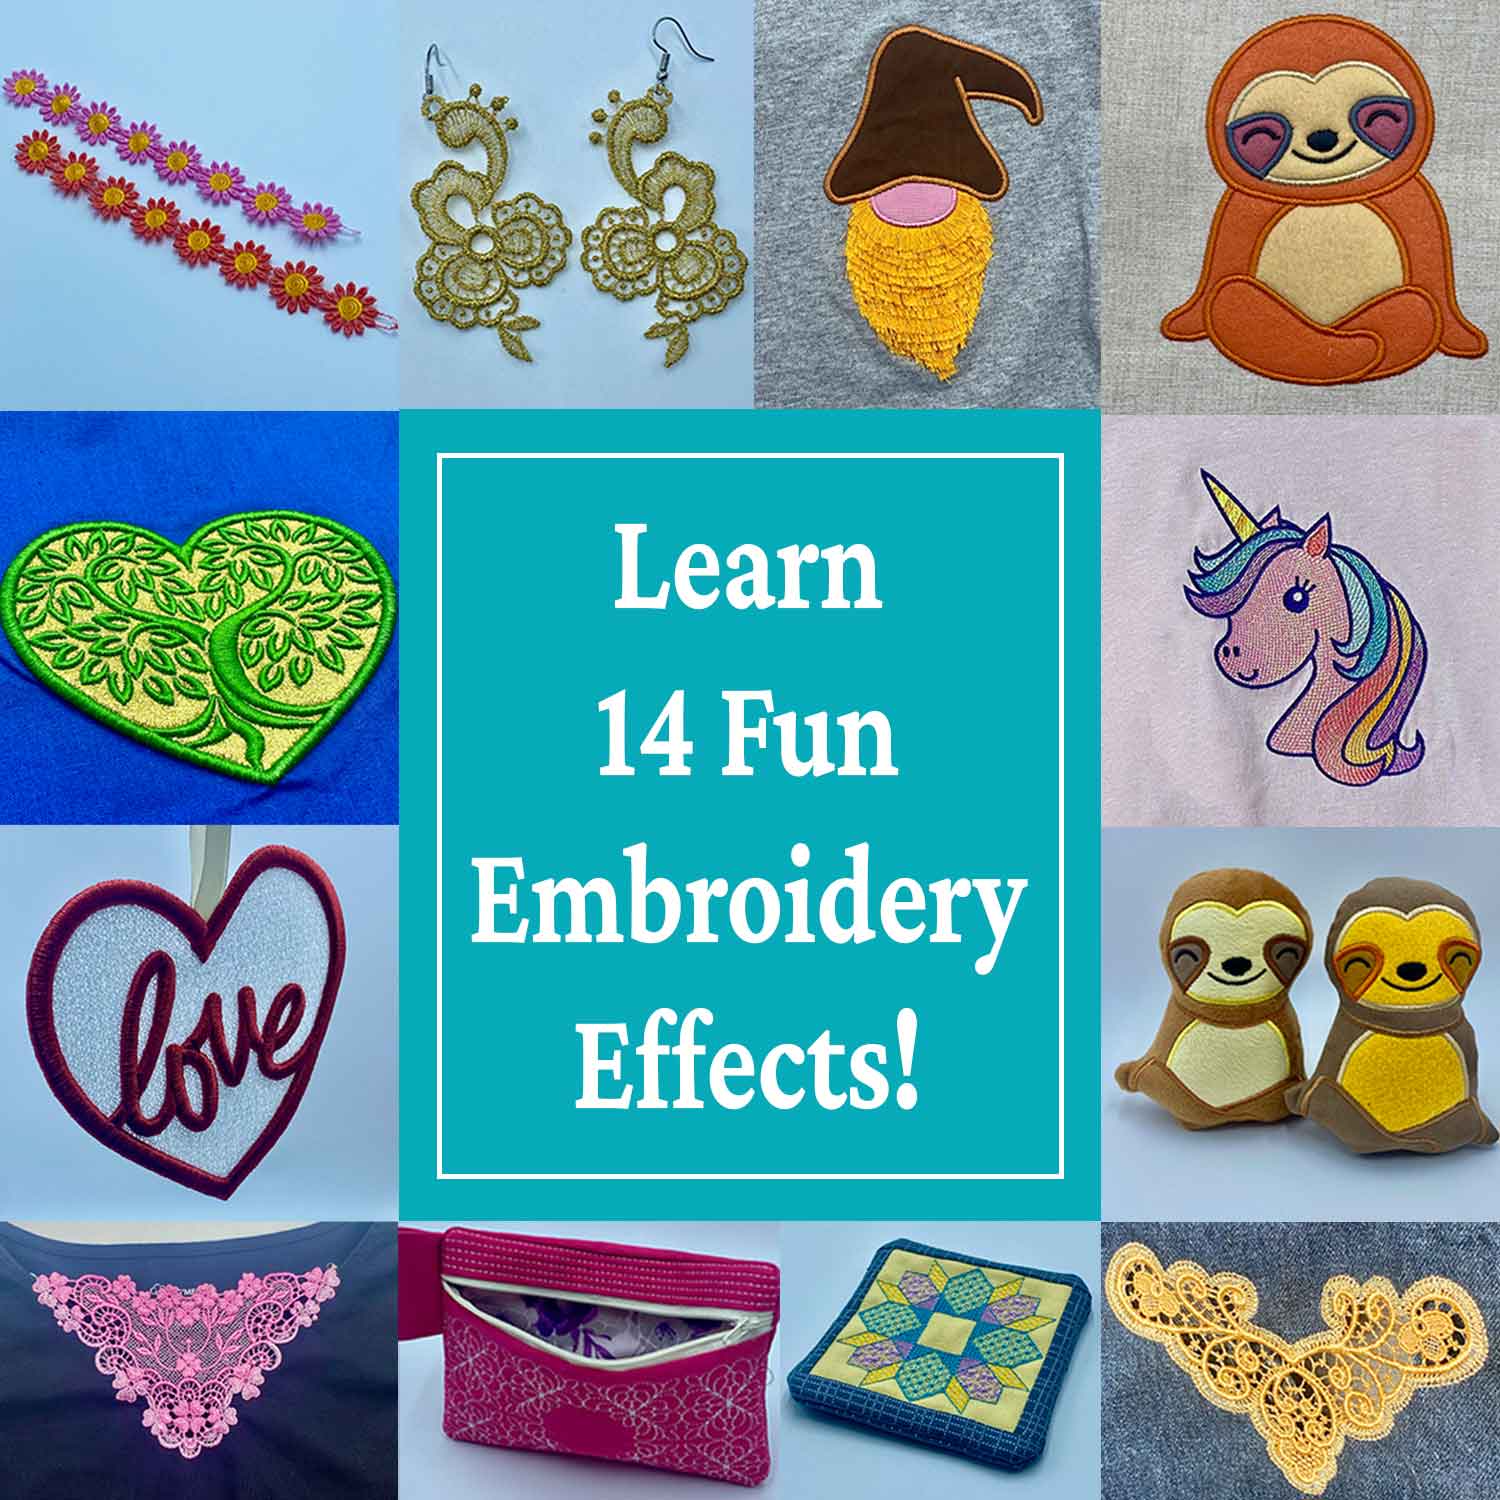
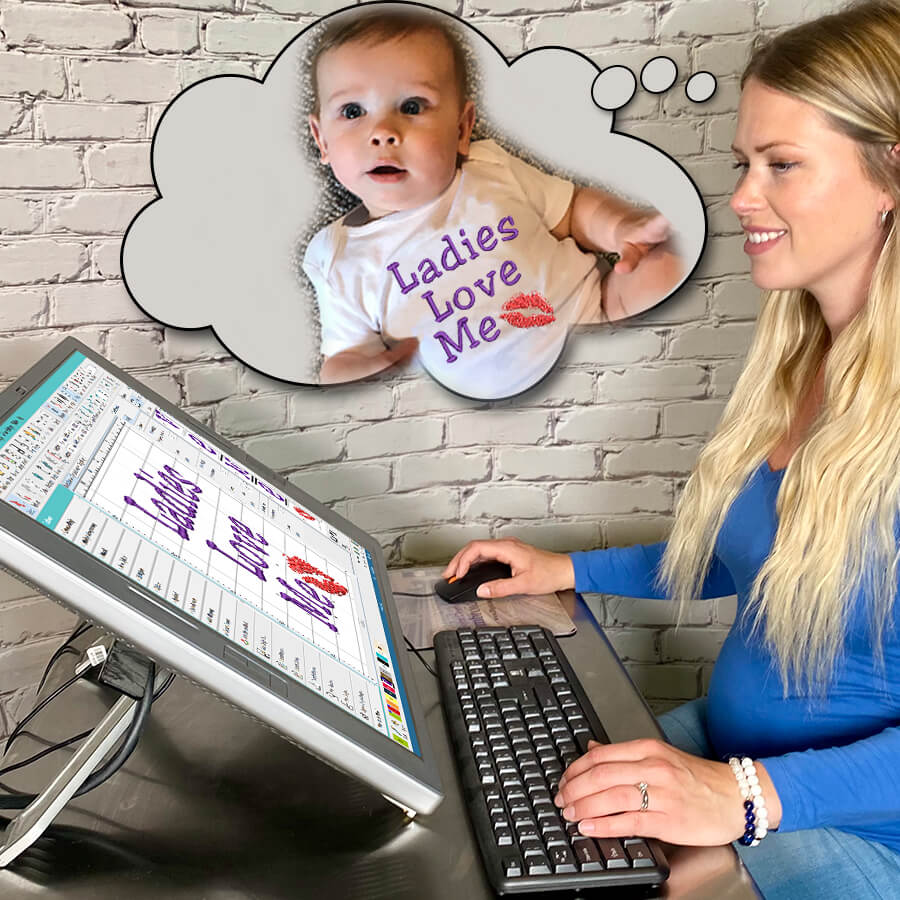
Fun Effects Embroidery Course
If you’re like most embroiderers, you love to get creative and make projects but know there is still so much more you can do with your machine. Perhaps you don’t know what all is possible, or you’re nervous about trying new techniques… Either way, you’re not alone. We’ve heard this a ton.
If you’re ready to learn some new eye-catching embroidery techniques that’ll make your future projects stand out & impress, this new & improved course is for you! You’ll learn 14 popular techniques to skyrocket your creative potential with machine embroidery.
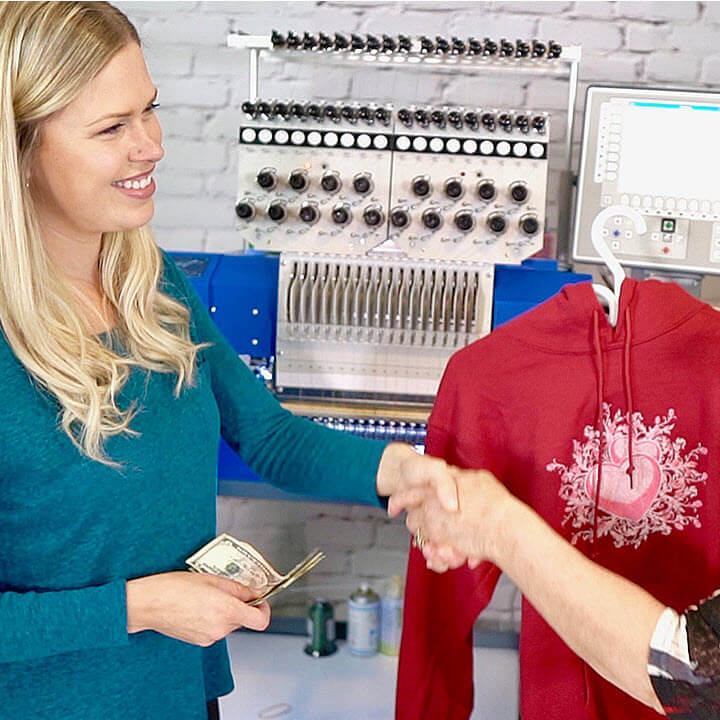
How to Make Money with Embroidery Workshop
Imagine not only loving what you do but also making money while doing it! If you’ve ever thought about turning your hobby into a business or already run an embroidery business and want proven tips & techniques that’ll help make you more profitable, this online class is for you!
Taught by multiple industry experts, this workshop will help you find customers, streamline your workflow, increase your profits with embroidery stitches, and more.
Free Embroidery Courses
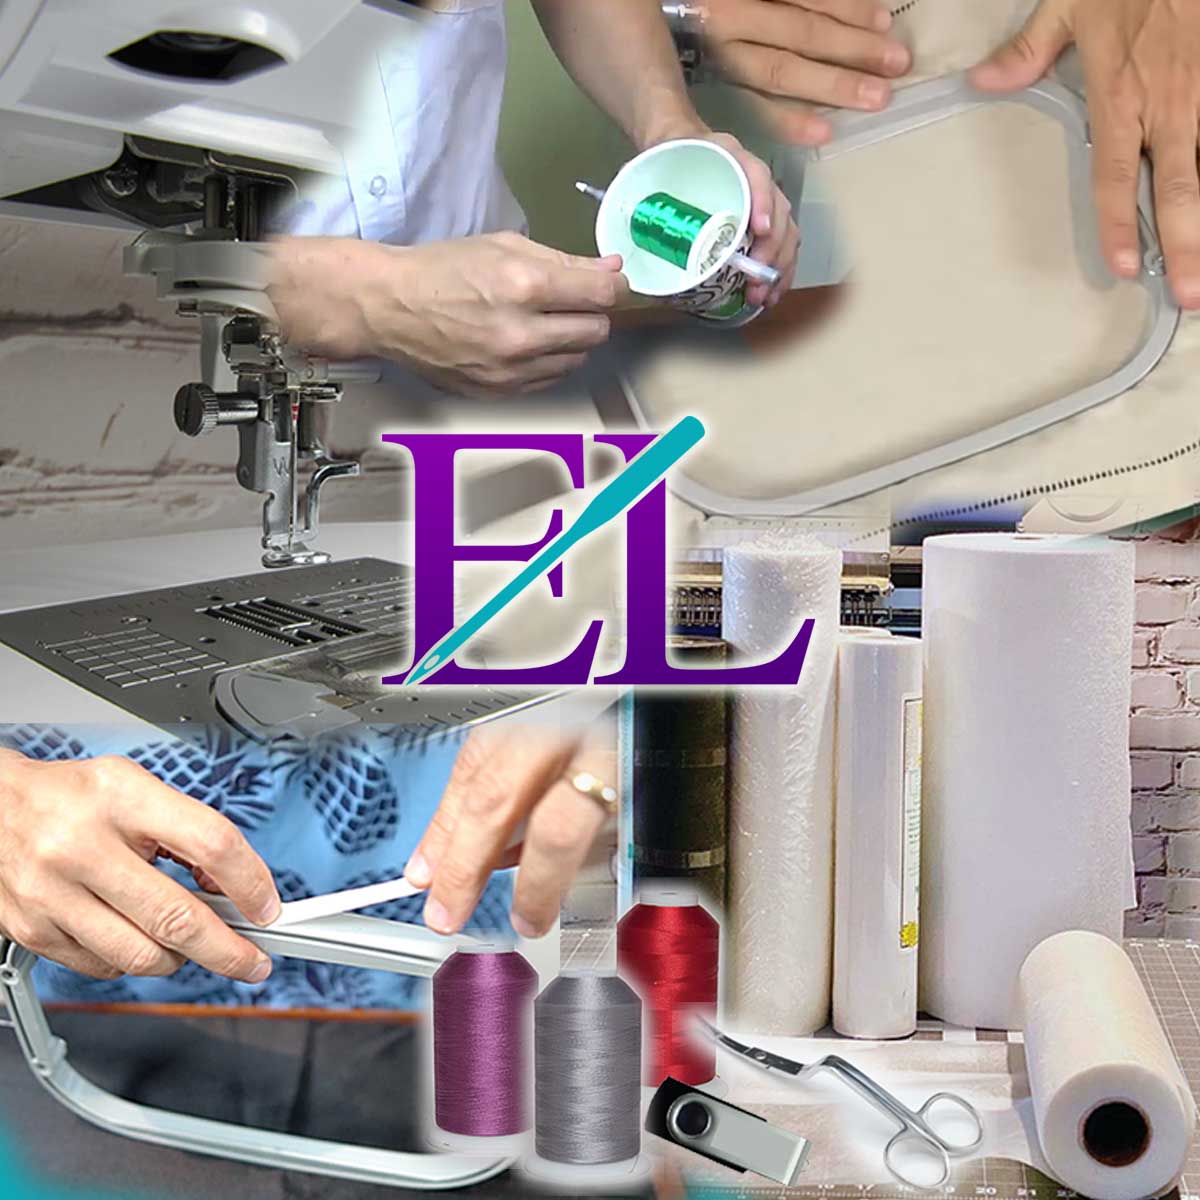
Free Machine Embroidery for Beginner’s Course
Like any art form, to truly master your skill you first need a solid foundation of the basics. If you’re new to machine embroidery or just want to make sure you’re doing things the right way, this course is for you!
Featuring video lessons from our popular “Embroidery Essentials” seminar, this course covers everything you need to get started with machine embroidery, including machines, hooping, stabilizers, thread, embroidery designs, software, and more.
Free Embroidery Digitizing 101 Class & PDF Cheat Sheet
Want to learn the basics behind creating and editing your own embroidery designs? If so, this free video course is for you!
Taught by John Deer, the world’s most awarded digitizer, this class won’t just teach you the basics behind creating designs… You’ll also learn a solid foundation of embroidery digitizing theory that EVERY embroiderer should know to help you get better embroidery results and understand what’s really happening underneath your needle.

Free How to Make Custom Embroidery Patches Class
Learn how to make custom embroidery patches quicker and easier than ever before with our Patches Made Easy workshop. Our family began creating patches in 1958. Throughout 30+ years in our two commercial embroidery factories, we created millions of embroidery patches for various customers, including the Boy Scouts and Walt Disney World.
Drawing from our roots, in this new premium class, you’ll learn our new method for making custom patches that’ll save you time and get you flawless results every time.
We currently have no live events scheduled. Please check back shortly
More Premium Embroidery Classes Are Coming Soon!
Join our newsletter below to be the first to be notified of new live classes (both in person and online) with VIP special offers.
Learn from the Master Live for Accelerated Results

A lot of embroidery teachers make this claim these days. Although a lot of them don’t have over 65 years of family experience in the embroidery industry, the title of being the world’s most awarded embroidery digitizer, or the honor of being the last living Shciffli Master Digitizers still alive and teaching in North America.
If you want to learn some fantastic new embroidery techniques and want results fast, join us at one of our upcoming live events for faster learning. Please see our list of online courses above or subscribe to be the first to learn about our exciting new line up of both online and embroidery classes near you!
Free Blog Articles & YouTube Videos
Alongside our premium classes, webinars, and workshops listed above which are hosted on top-level learning platforms, we also offer a wide variety of free resources on our blog and YouTube channel to help you learn new skills! If you’d like to get a small taste of the quality of education we provide, click the button below to browse our free education now.