The Halloween candy is on store shelves (we won’t tell if you’ve already had some), and we are hard at work planning our costumes for the family. The days are getting shorter, and the countdown is on for that spooktacular night. If you have not thought of Halloween as an “embroidery holiday,” think again! Spiders, sugar skulls, scaaaary ghosts, and goblins, we love them all!
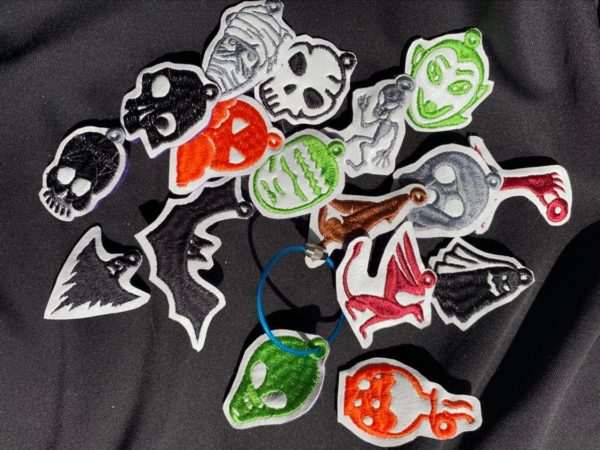
Our easy-to-use, re-sizeable glyphs are great for Halloween projects. ESA (embroidery-specific alphabet) glyphs are little pictures that are programmed like an alphabet, so instead of getting an “A” when you press A, you get a picture. They are easy to use and are re-sizeable so that you can use them in so many ways. Fun and versatile is the name of the game!
This project is on creating durable charms for your kid’s (okay… your) backpacks, shoes, keys, and more! We’ve also included an easy wearable cuff made from vinyl and backed with felt for your Halloween wardrobe.
Why Create These Easy DIY Halloween Charms
When the holidays get closer, we want to do everything, right? But we simply do not have the time, but there is so much to be done. We have been hard at work creating new and exciting content for you for the holiday season, but we still like to stop and create a bit of fun.
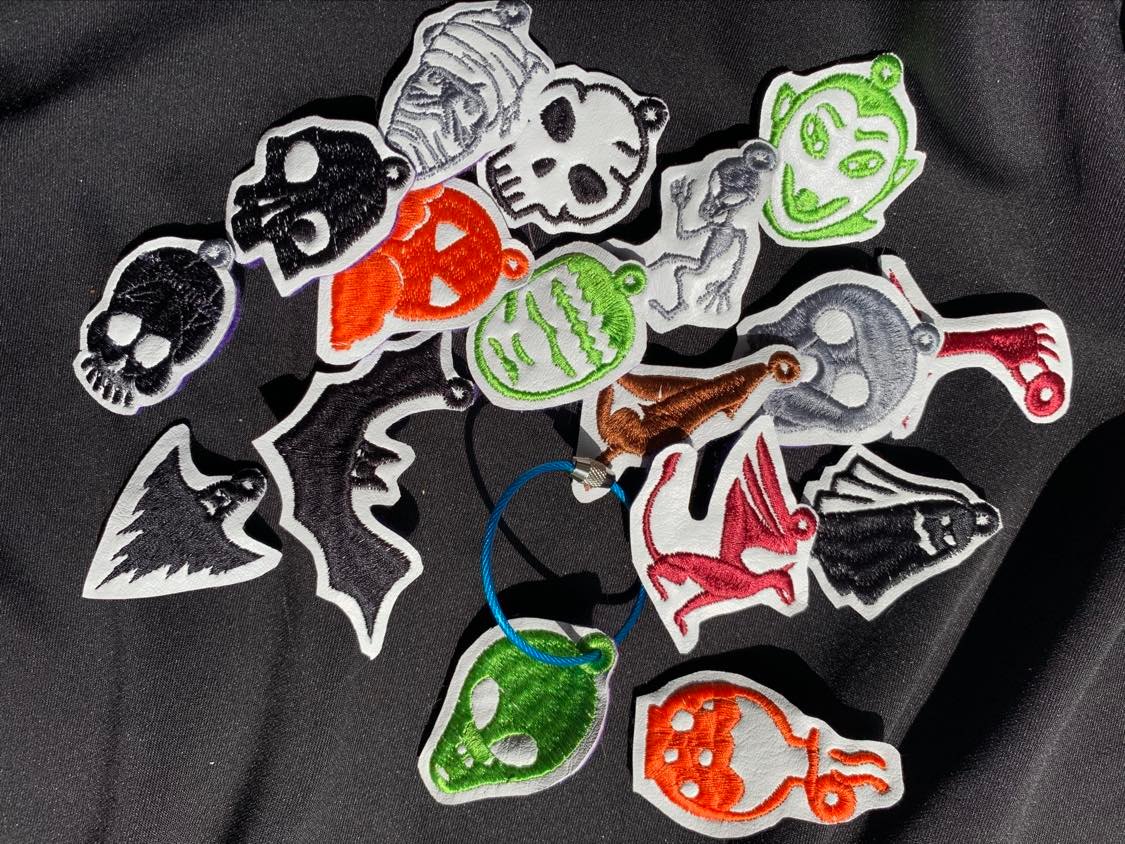
Today we are using the ESA Halloween Monster Mash Glyph set, allowing you to stitch out some super fun charms.
Supplies Needed For These Easy Embroidered DIY Fun Halloween Charms
- Vinyl Material
- Craft felt in a Halloween color (we used purple)
- Temporary adhesive embroidery spray
- Polyester thread
- KAM or other plastic or metal snaps
- Decorative plastic or other beads
- Permanent adhesive spray
- ESA Monster Mash Glyphs
Check out other ESA Glyphs to perfectly accentuate your next project.
Embroidered Stylish Monster Mash Charms Tutorial
The setup for these glyphs is SUPER easy, READY?
1) Install your Monster Mash ESA Glyphs into your Wilcom Embroidery Software.
Interested in a free 30-day trial of Hatch Embroidery Software? See for yourself how user-friendly this embroidery software really is! Watch how to easily install fonts into your Hatch Sofware here.
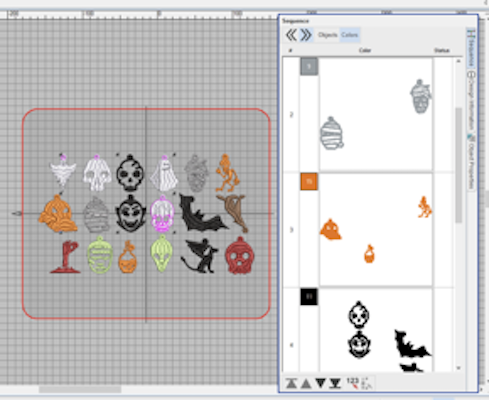
2) Insert the Glyphs using your keyboard (place them about ½ inch apart). Do not be afraid to fill the space in your hoop; it will conserve materials.
3) Digitize a small satin ring approximately ¼ to 1/3 inch in diameter and place it at the top of each glyph. These will be the rings you use to hang your charms.
4) Change your glyphs (and the rings too!) to fun Halloween colors! You can use black or white bobbin thread, as this will be covered up.
5) THAT’s IT!
Hooping Your Material
- Lightly spray a piece of medium-weight tear-away stabilizer.
- Adhere a piece of vinyl to the stabilizer.
- Hoop your vinyl/stabilizer. Do not pull too tight.
Stitching Out Your Glyphs
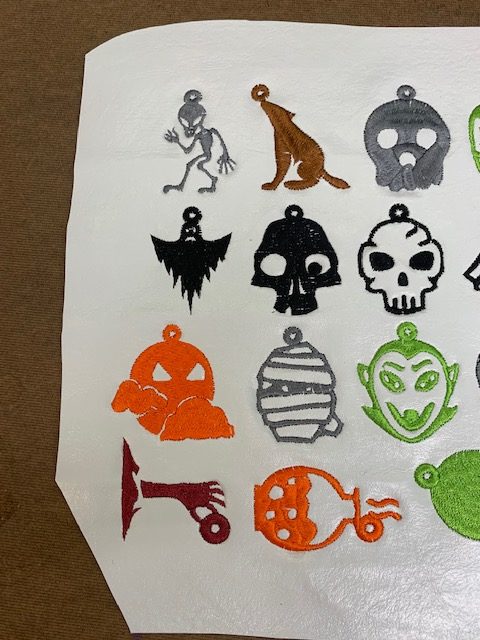
- Stitch your glyphs as you usually would, and group your colors for fewer changes.
- That’s it!
Assembling These Easy Halloween Charms
- Remove your stitch out from the hoop.
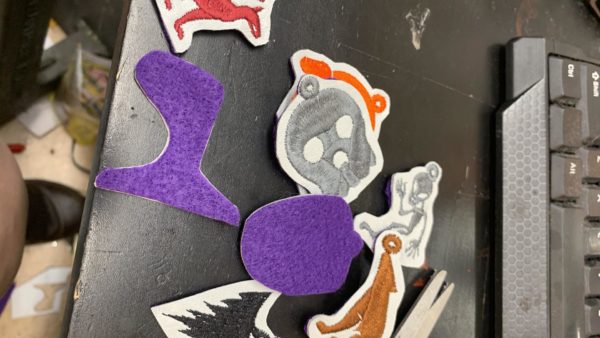
- In a well-ventilated room away from your machine and equipment, lightly spray the back of your stitch out with permanent spray adhesive. Also, spray a piece of craft felt in a corresponding size.
- Allow it to become tacky, and stick the two pieces together.
- When dry, trim your charms as closely as possible to the stitching without cutting them.
- Using an awl or other tool, you can pierce the hole in the charm for the jump ring.
Digitizing The Cuff
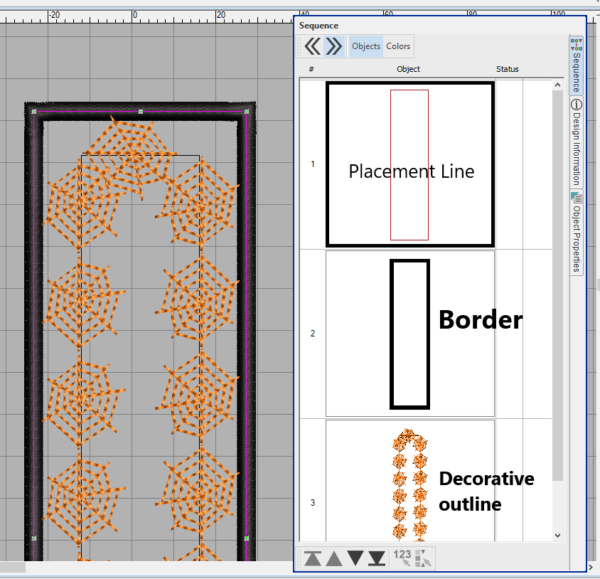
- Digitize an outline rectangle 2 inches wide and 8 inches long. (Remember, you can do more than one at a time!) This will be your placement line (we make ours red to start).
- Copy that (or those) outline(s) and paste them in place. These second lines will become your outline.
- Change the second running stitch outline to a 4mm (0.15 in) satin line and change to the color of your choice.
- Digitize a smaller running stitch outline inside your border and change it to a Pumpkin Motif found in the “Outdoors” section of the leaf motifs in Hatch 3 software. These motifs change a single line to wonderful pre-designed shapes and objects to really jazz up your design.
5. Your design sequence should look like this:
Assembling Your Halloween Charm Cuff
- After you have stitched out your design on the vinyl remove it from the hoop.
- Trim carefully as closely as possible to the stitching line without cutting the stitching
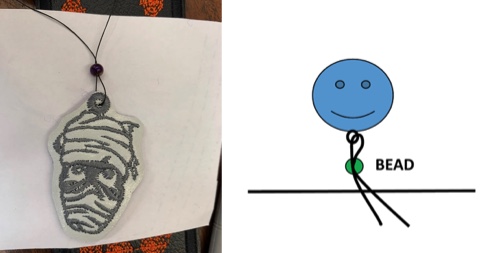
- When completed, use a heavy-duty thread and sew your charms onto the cuff.
- Come up from back to front through your bead
- Go through the charm eyelet
- Return through the bead
- Sew back through the cuff and move to the next charm placement
- Repeat
4. When charms are sewn on carefully in a well-ventilated room, spray your permanent adhesive spray onto the back side of the cuff, careful not to let overspray get on your charms.
5. Trim your cuff
6. Add snaps in the corners, and you’re DONE!
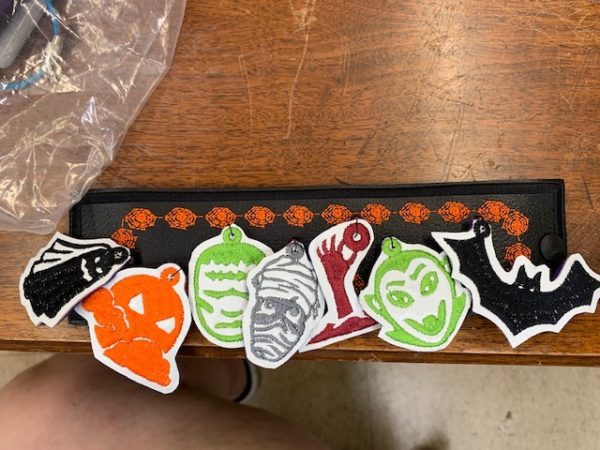
Conclusion: Get Ready For Halloween With These Easy Monster Mash Charms
Making fun and easy holiday gifts does not mean spending the whole holiday season doing it! We’ve given you an example of using our versatile ESA glyphs to create some fun and scary charms. Here are the main points to remember:
- ESA Glyphs are re-sizeable and easy to use. They install like embroidery fonts, and the images correspond to letters on your keyboard.
- Cuffs are fun for kids and adults- this can also be made into a scaaarrrryyy bracelet using a pre-made bracelet from the craft store and jump rings. You simply attach it with a pair of pliers.
- The felt backing makes them sturdy and soft for even the youngest of monsters!
We would love to see your scary Monster Mash Glyph stitch out pictures; feel free to post them in our Digitizing Made Easy Facebook group! Thanks for joining us in your embroidery journey, and we can’t wait until next time!
P.S. Check out our other embroidery fonts and glyphs to perfectly embellish your next embroidery project!



Leave A Comment