Ever try to put a square peg in a round hole? A 20 inch wide embroidered logo on the side of a sleeve? (Hint hint, none of these work!) We all have the bag, box, or big bin of shame. The shirts that did not work out seem easier to hide under the table and promise ourselves that we will “use the fabric for testing” rather than chucking them in the trash. These garments are usually there because of poor placement. They were a little “off” or tilted. Somehow asking a client or friend to stand with a shoulder slumped down does not seem like a great plan! Thankfully, this article is here to help make sure this doesn’t ever happen again!

This blog will talk about embroidery placement on shirts, jackets, hats, and towels and the wide range of tools and tricks to help you reduce your “hidden box of shame.” You may come out of it with less testing fabric, but you’ll become more confident when embroidering. We will talk about anatomy, terminology, and how to get the best results possible. Let’s get started.
Placement of Embroidered Designs
Placement is important because it allows you to have consistent stitching results and a good-looking product. Sewing over a seam on a shirt is not that bad, but sewing over a seam on a jean jacket can break a needle or worse. Embroidery placement takes into consideration the wearability of the garment and how it looks. A 20-inch wide logo will not fit on the side of a sleeve, but it is also not appropriate for a shirt back unless it is a very extended size.
Having a placement plan will allow you to work more successfully with customers and set yourself up for success. If you have a plan that you know you can follow, it is easier not to get yourself talked into something you know will not work. You can hand a chart to the client or friend, show them the standard, and go from there.
Placement also has a lot to do with hoops. Trying to put a 130mm hoop into a shirt pocket will not work (unless you like removing pockets, and that is not a lot of fun!). Since you already know the sizes of your hoops, this will help you use designs that stay within those ranges.
Tools for Perfect Embroidery Placement
Only you can decide what works for you and will make you comfortable so whatever you choose, be consistent and give it a chance to work.
- Placement charts: They are available on line and in printable form. These also work well as client intake forms so that both you and the client agree.
- T-shirt and Placement rulers: These look like crosses or T squares, some have cutouts for the neck of the shirt and are designed to be used on a shirt which has been laid flat. You can use tailor chalk or washable markers to carefully mark the placement lines of your design.
- Plain Ole’ tape measure: As long as you are consistent with the measuring points a tape measure is all that many people need. Again, you are the best judge for what works for you!
- Hooping systems: These are becoming very popular and there is a reason why. They work! Hooping stations are meant to hold a magnetic or regular hoop still while you slide the garment over and then set your hoop in place. Generally they are shaped like the outline of a t-shirt with an extension where your neck would be. A hooping station is just that- it will be the heart of your garment embroidery work and though they seem expensive in the end they save your wrists, your money and your sanity!

If you’re looking for, or would like to learn more on hooping stations, we offer the Echidna Hooping Station which comes in two sizes and has re-positional magnets which securely hold your hoop while you set it for embroidery. Both sizes are available with a non-slip surface so that slinky shirt, sleeve or anything else stays put while you work. Click here to learn more on easy hooping.
Where to Embroider on Hats
Caps are limited a bit by seams, bill, and crown, but a safe measurement is 2.5-4 inches wide and about 3 inches tall.

Always use the center seam of your cap (or a center point between the following two seams on flat front trucker hats) to position the horizontal center. For the vertical, make sure to allow for your machine’s presser foot! It may look fine until you run up against the bill while stitching because your machine has an angled foot. A safe measurement is at least ½-3/4 inch from the bill. Check out our video below, where John Deer discusses cap tips and tricks.
Check out this youtube video where John Deer discusses how to achieve the perfect cap back placement!
Terminology of Hats
Though everyone dreads caps when they start out, it gets easier with experience and patience. Hats come in several styles.
- Dad caps: These are the six-panel unstructured soft caps that feel thin and lived in. The crown (top of hat) fits low and hugs your head.
- Ball caps: Baseball players wear a modified version of a dad cap which has a bit more structure and a higher crown. They are also six panels and can come in adjustable or sized caps (more traditional for League approved wear).
- Trucker hats: These are high crown structured hats (stiffened with buckram) that sit up off your head and have either mesh or solid backs. They come in six-panel stiff structured hats or five panels with a foam reinforced or neoprene front, which embroider well because they lay flat in the machine.
Of course there are other styles of caps, but we will not discuss them all. A pitfall you encounter in stitching on caps is the sweatband found on all caps on the inside. These are flipped down so that you are not stitching on top of them. Seams on caps pose problems, and they can be pretty heavy. Because caps are rounded, you cannot assume that all the space on the hat can be embroidered. Too low, and you stitch against the hat’s bill (the brim), which can hurt the machine or distort embroidery. Stitch too high, and your design may not be seen, or the stitching distorted if working on a tubular machine. You can stitch fairly wide from ear to ear (270 degrees) but beware of studs or brads on the side of the hat.
Want to learn more about embroidering on hats? Click here for our Complete How to Embroider Caps & Hats Guide.
Bags: We won’t get into bags and backpacks at this time, but it needs to be noted that bag designers want you to embroider them (and buy more), so there are pockets and flaps galore.
Other items: As you look at any item, try to find a center point and create verticals and horizontals to aid in placement and always watch out for snaps, zippers, plastic panels, etc.
Where to Embroider on Shirts and Jackets
Jackets are generally the same as shirts, but the type of jacket may limit you. Yokes will alter placement and size, and other features like studs, embellishments, internal and external pockets will make decisions for you.
Terminology of Shirts and Jackets
- T-shirts: These will be the most common garment you embroider on. There is a neck, which on most shirts is higher in the back than the front. They come as a round neck, (most common) boat neck (opening is wide and not deep- resembles a boat), and V neck. The collar is almost always a folded over ribbed knit band. Your landmarks on this are center front ) fold the shirt in half, holding the shoulder seams together. Mark the center with a pin. Just because your new T-shirt has a crease down the middle from being folded does not mean that is the center point! Make sure to measure for yourself. Folding a T-shirt and marking it with pins or chalk can mark down the front or back. The other points of interest are the shoulder seams mentioned above, the underarm seams where the sleeve meets the shirt’s body under your arm, and the hem at the bottom.
- Collar, Polo and Dress Shirts: The biggest difference between a T-shirt and a collar or polo is the placket for the V neck where the buttons and buttonholes are. The center of the shirt should be measured from the center point of the placket where the buttons are. (Note: make sure to leave these buttoned it will help maintain the shape of the shirt)
- Jackets: Jackets are just bigger, heavier shirts with long sleeves, but they can have some other barriers too! The Yoke is the top section across the shoulders, and there can be are yokes on the front right and left. Remember that even though you can embroider here, make sure to consider the width of the seam allowance on the inside. Use your fingers to pinch and see where the edge of the fabric is.
- Pockets: Creating pockets is easier than it sounds! Click here to learn how to embroider your own pockets.
Correct Size and Measuring Shirts and Jackets
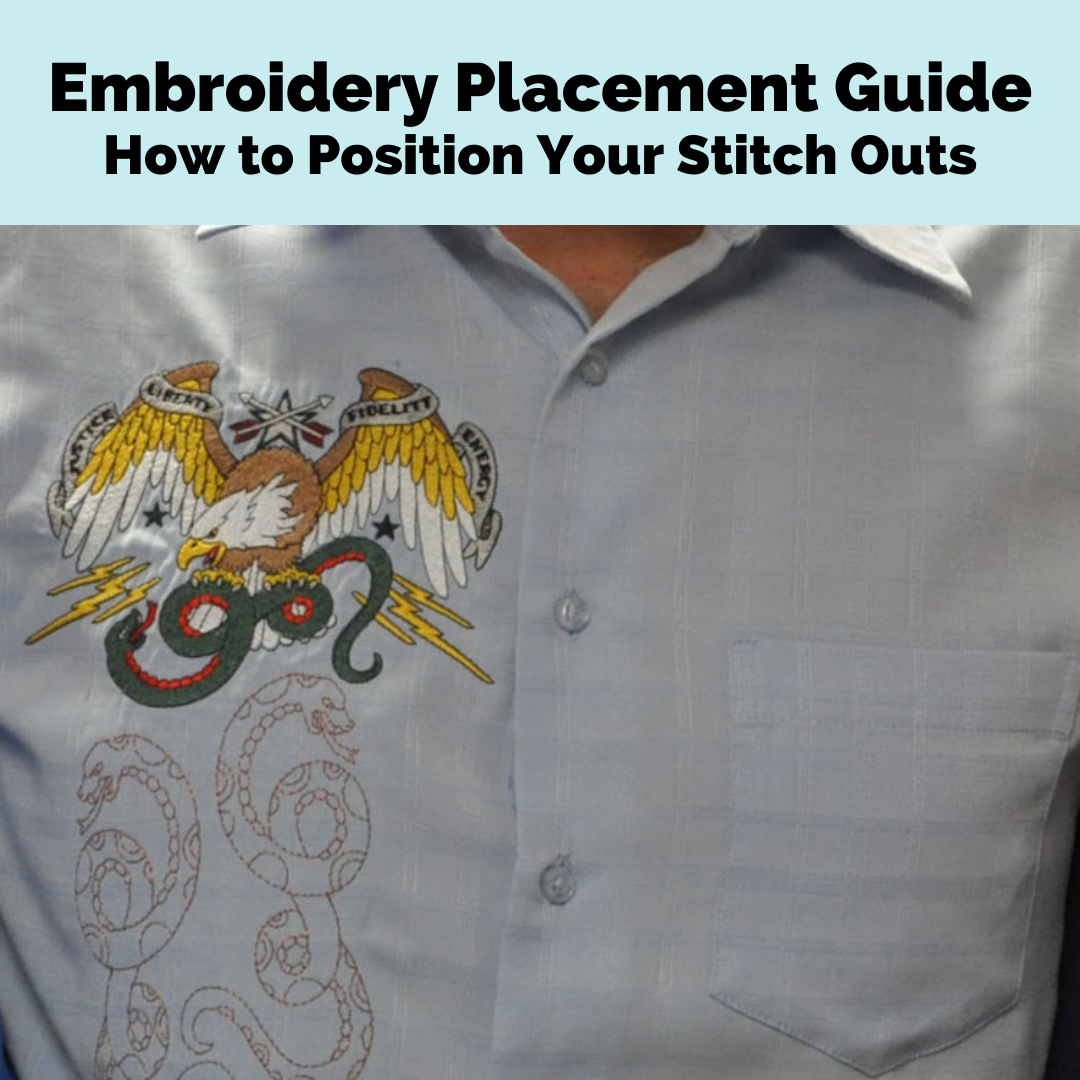
Generally, shirt logos are put on the left chest (over your heart), but they often are seen right chest. The correct size is approximately 3-4 inches (or a bit more for larger shirts) and 2-3 inches high. Of course, you can make them any size you like, but before you hit the start button, make a paper cutout and place it on the shirt to see how big it really is! Many times we see images on the screen which look SO large only to find they are dwarfed by the shirt (by the way, this works in reverse too- it keeps you from going too large)

Shirt back (Full back) stitchings are generally 11-12 inches wide and as long as your shirt will allow but do remember that less is more and to stay around the 12-14 inch length. Shorter, taller, larger, and smaller shirts will vary.

To place shirt front embroidery correctly, it should be horizontally on a point between the center line and the sleeve seam and vertically between the shoulder seam and the bottom of the sleeve seam. For the back, it should be placed on the centerline between the shoulder blades, and a center point between the collar seam and the seam under your arm. These can vary, but this is a good start point.
Where To Embroider On A Towel
Towels are the easiest thing on which you can embroider. They make lovely gifts and look spectacular! When you look at a towel, you will notice the decorative band usually found on both ends. Place your monogram above that line giving a space not less than 1 inch. You do not want to embroider the design over the decorative edge. Believe it or not, there is a top and bottom to towels- look for the label- the top will be the opposite side. Also, make sure to place the label of the towel face down so that you are embroidering on the correct end and the correct side. We don’t want labels showing.
We are only focusing on placement but when doing towels, make sure you get the best result by giving a good base to your embroidery. Using a “Hatch smash” or “knockdown” technique will knock down the terry cloth pile and provide a clean stitching surface.
View our Guide on How to Embroider on Terry Cloth Towels here.

If you don’t know how to use the “Hatch smash” technique, check out our video below.
Want to create a custom monogrammed towel? Check out our free Hatch Victorian Monogram Personalized Project! Don’t have Hatch software? We’ve got you covered. Check out your free 30-day trial of Hatch where you can use all the features of the software like you own it by clicking here.
Tips For Perfect Embroidery Placement
Watch for hazards
You would not realize it, but many hidden hazards are lurking in your embroidered piece. Always feel the material and look for zippers, buttons, velcro, seams, or heavy interfacing. This is especially important when embroidering on bags. Attempting to embroider over these can cause needle breaks and damage to your machine.
Measure twice, stitch once!
We have to stress the importance of careful measurement before you hit the start button. If needed, a small checklist kept handy at your workstation will help you ensure you have covered the bases! You can use a chalk marker, invisible pens, pins, or any method that works well for you. Sometimes it is also helpful to step away for a moment and then come back and check before you start your machine.
Know your stabilizer
It is important to mention that when embroidering garments, you want the most appropriate stabilizer. Keep in mind the saying, “if you wear it, don’t tear it!.” This means if you’re using a stabilizer next to your skin, always use a no-show mesh or cutaway stabilizer because they will soften with time. On your towels, a layer of wash away on the bottom and top works wonders.
For more tips, tricks, and information on different stabilizers, check out our Complete Guide to Embroidery Stabilizers by clicking here.
How to fix bad placement
The bad news is that once fully embroidered, bad placement is hard to fix. The good news? Even if you start the machine, there are some ways to save your garment.
- Remove stitching – if you work carefully, you can remove the stitching and start over in many cases. It is important to work slowly from the backside of your garment.
- Overstitching- if you start and realize that you have made a mistake, stop immediately. In some cases, you can reposition and restitch (provided it is not too dense) over the start of the previous design.
- Be creative. Before you toss that shirt in the scrap heap, think about how you can recover it. Applique, making patches, and other techniques might be a good solution.
Conclusion
We have discussed the terminology of jackets, shirts, and hats, as well as many types of placements, but for an easy takeaway, here are key points to remember:
- Measure twice, stitch once and use the best measuring method that works for you.
- Take your time, walk away if necessary
- Use some of the measuring aids available, such as placement charts, rulers, and hooping systems.
- Always check for hidden hazards; the last thing you want is to damage your machine.
Through practice, you’ll soon perfect the correct placement on your garments, ensuring a happy customer, machine, and self!
P.S. Wand better placement and fast hooping? Check out our Echidna Hooping Station by clicking here to see what makes this hooping aid extremely easy to use and stand above the rest!

Good information that will save your sanity.lol
Thanks for reading 🙂